Nexo manual · Primcast
Run your hosting business on Nexo, one screen at a time.
This manual covers everything Nexo does, in the order you will need it: getting the panel onto your server, putting your brand on it, designing plans, opening your first customer, bringing in resellers, connecting your billing, and then every tool your customers find in their own panel. It is written for Nexo 1.4.6, and anything in a red pill, like New account, is a button or heading you will see on screen.
Chapter 1Getting Nexo onto a server
- Pick a server with NexoChoose one of the machines on our Nexo page. The order form opens with Nexo already ticked on a Linux system it runs on; take Nexo 30 Domains instead if you only host a few websites.
- We install itOnce the system is on the machine, we put Nexo on it and switch its licence on. A ready server gets it the moment it is handed to you.
- Sign inOpen the server in the Primcast dashboard: the panelYour server’s page in the Primcast dashboard shows the panel’s address and first password. Open it and carry on with chapter 3.rsquo;s address and its first password are waiting there. Then carry on with chapter 3.
Already have a server somewhere else?
Buy a licence on its own from the Nexo order page. When it is paid, the licence’s page in the dashboard shows your key and two commands. Log in to the server as root and run them:
curl -fsSL -o install.sh https://licenses.servcast.net/panel/v1/install.sh
HOSTPANEL_LICENSE=HP-XXXXX-XXXXX-XXXXX-XXXXX bash install.sh --hostname your-server
What the server needs: a fresh Ubuntu 22.04, 24.04 or 26.04, Debian 12 or 13, AlmaLinux or Rocky Linux 9 or 10 (RHEL, Oracle Linux and CentOS Stream 9 or 10 work too), or a Proxmox VE 8 or 9 host; an x86 processor; a public IPv4 address; and no other control panel or live websites on it. A virtual machine is fine; a container such as LXC or Docker is not.
Installation takes a while, because it sets up web, email, databases, DNS, FTP and backups. At the end it prints the panel’s address and the first administrator’s password, once. Keep them safe. You can also add --email you@yourhosting.com, --name "Your Hosting", or --backup-device /dev/sdb to keep backups on a second disk.
No hostname yet? Leave --hostname off. Nexo installs on the IP address with a temporary certificate, so your browser will warn you once. When a name points to the server, enter it under Settings › Server name and press Use this name; a free trusted certificate follows.
Chapter 2How the licence works
One licence runs one server. The first time it is switched on it locks to that machine, so a reinstall of the same server keeps working and a copy taken elsewhere does not. Moving to a new server? Ask us to release the key.
The panel checks its licence with us every hour. If those checks stop, say during a network problem, it keeps working normally for 72 hours and warns you on its Overview. Only after that does it stop accepting changes, and even then your customers’ websites, email and databases keep running, backups still happen and certificates still renew. Its License page has Renew now, and Use another key with Activate for a new key.
Nexo 30 Domains is the full panel with a cap of 30 domains across all accounts. Each customer’s main domain and every extra website count; subdomains and alias names do not. At 30 the panel simply refuses the next new domain.
Chapter 3Make the panel yours
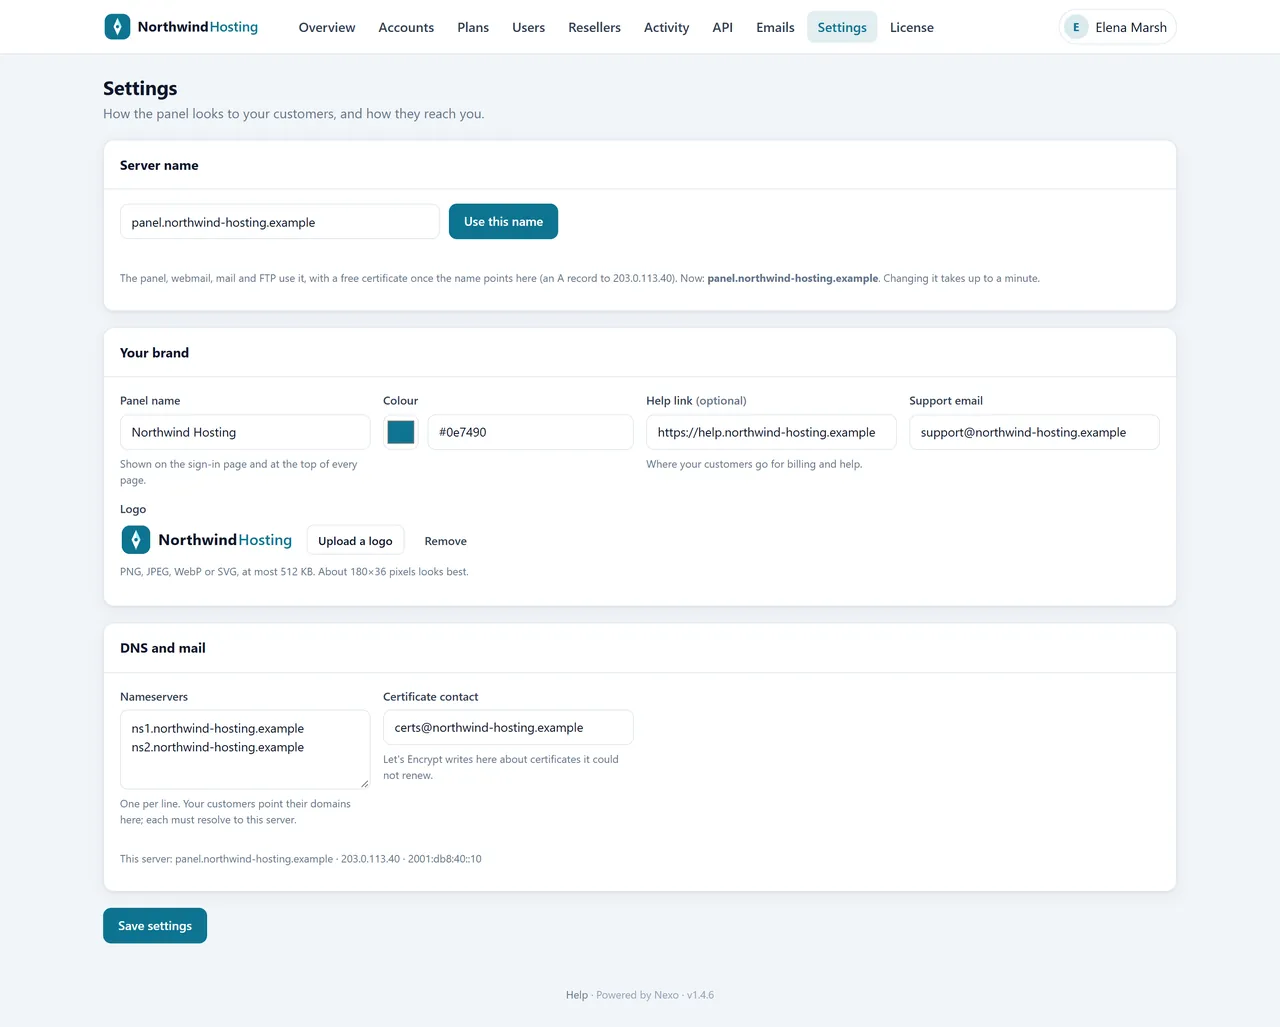
Sign in at https://your-server:2083/ with admin and your first password, then change the password from your name in the top corner (Change password). Across the top you will find Overview, Accounts, Plans, Users, Resellers, Activity, API, Emails, Settings and License.
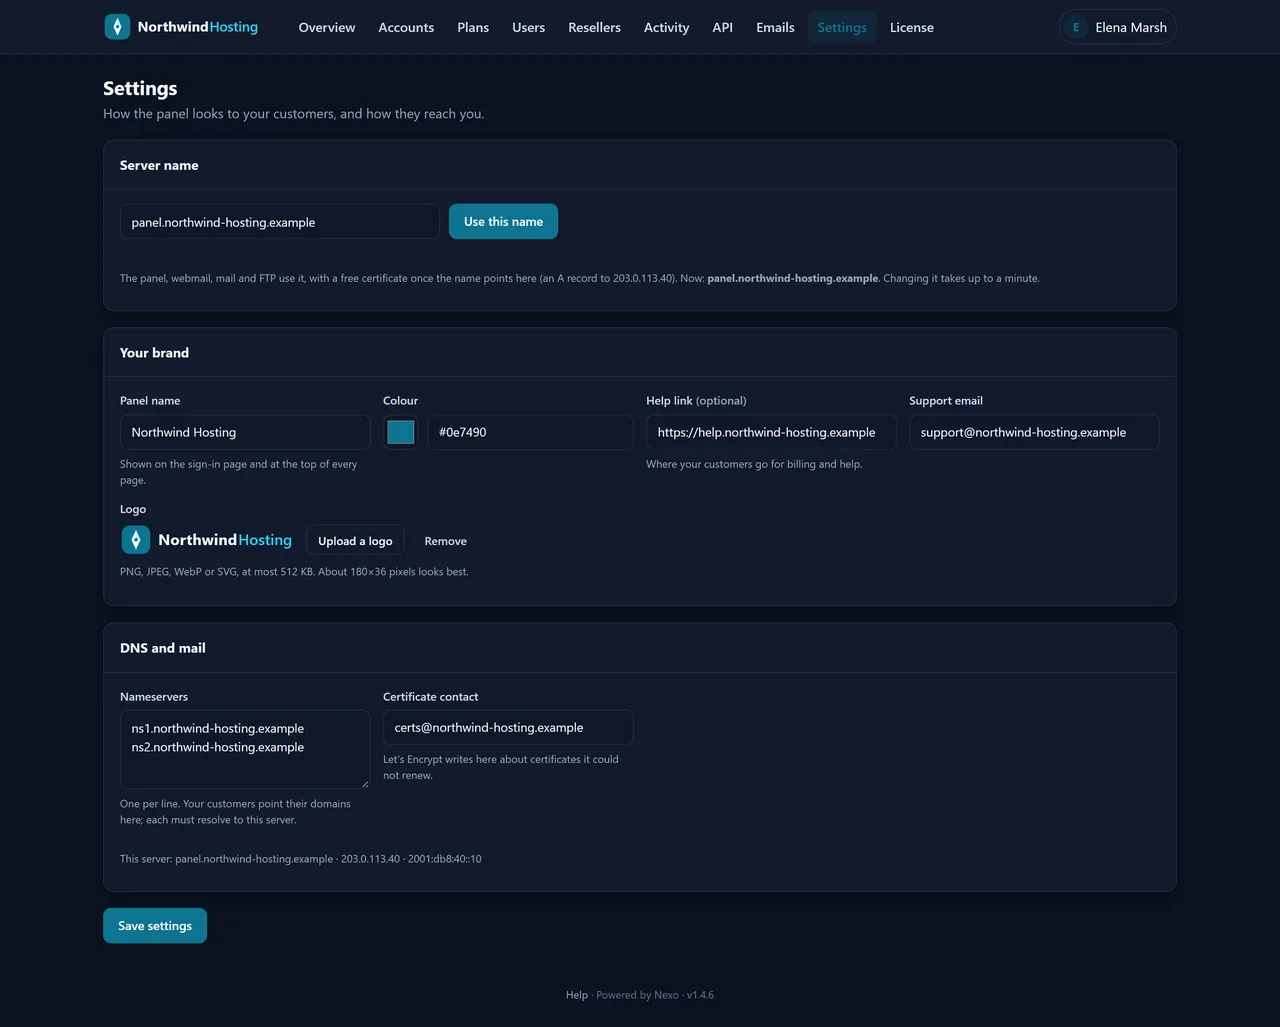
Open Settings. In Your brand:
- Panel name: what your customers see at the top of every page, such as “Your Hosting”.
- Colour: your brand colour for buttons and links.
- Help link (optional) and Support email: where customers go when they need you.
- Upload a logo: PNG, JPEG, SVG or WebP, up to 512 KB.
Under DNS and mail, set the Nameservers your customers will point their domains to, for example ns1.yourhosting.com and ns2.yourhosting.com (create those names at your registrar first, pointing to the server’s IP), and the Certificate contact email. Press Save settings. From now on your customers see your name, your logo and your colour; the only mention of us is a small “Powered by Nexo” at the foot.
Chapter 4Design your plans
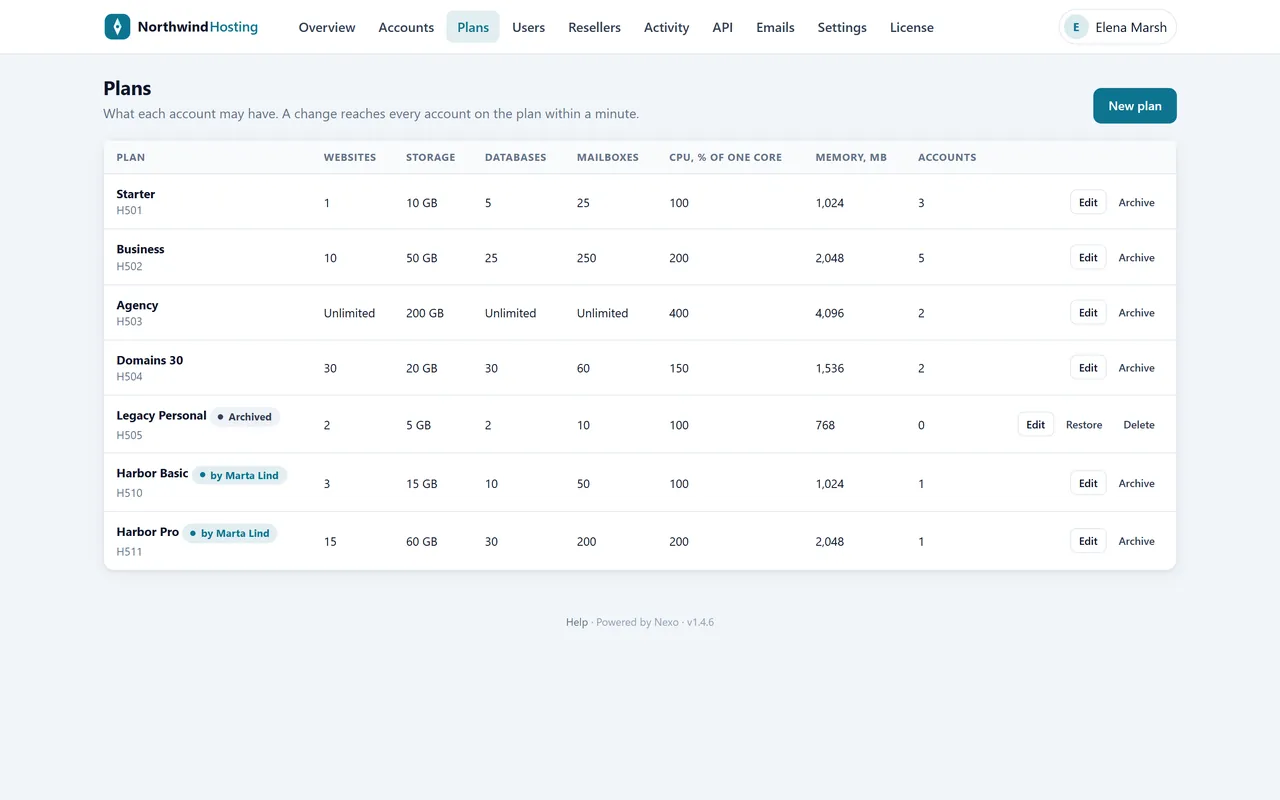
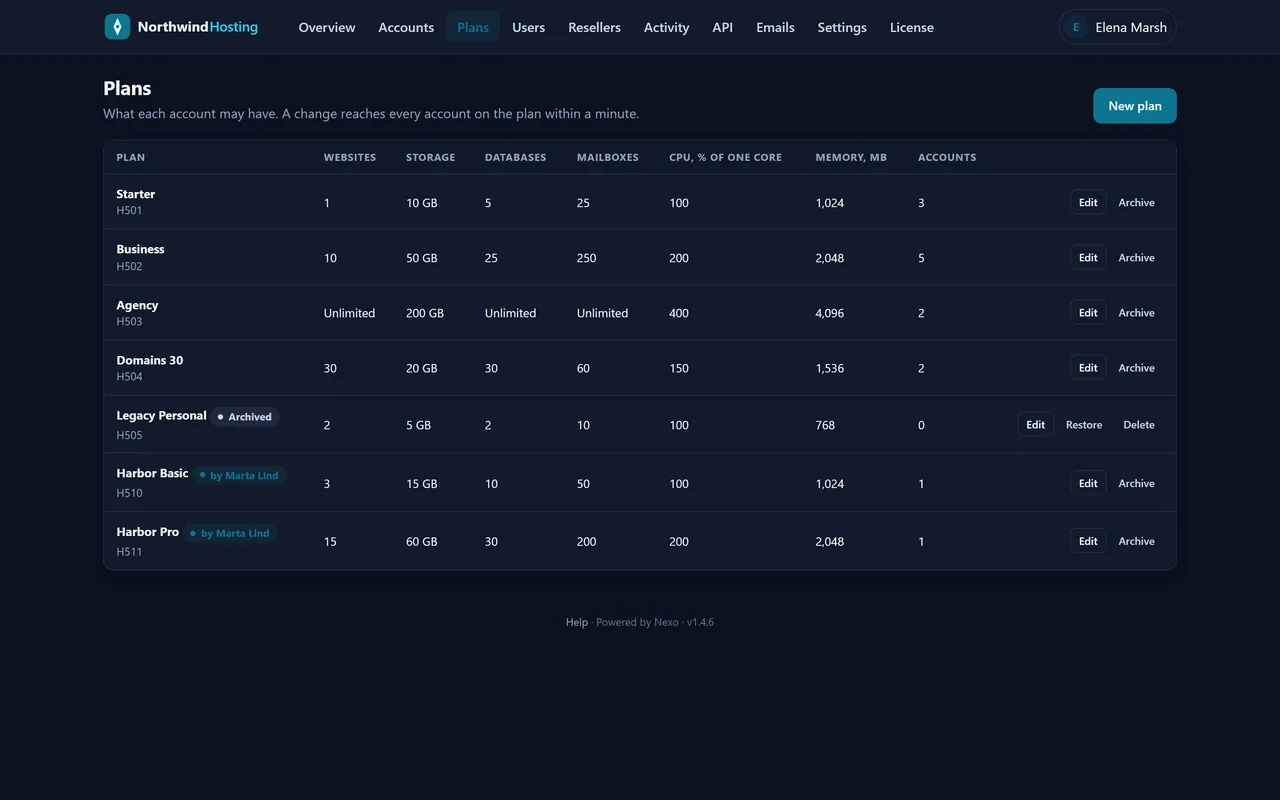
Plans are what you sell: Starter, Business, Agency, whatever suits your market. On Plans, press New plan, name it and fill in its limits.
How many separate sites, subdomains and extra names for a site.
Disk space in GB, and how many files and folders.
How many of each the customer can create.
The share of the server the account may use, so one busy site cannot slow the rest.
A cap that stops a hacked contact form from spamming the world.
How many daily and weekly copies stay available to restore.
The shortest interval for scheduled tasks, and PHP’s memory and upload ceilings.
Change a plan later and every account on it gets the new limits. A plan you no longer sell can be put away with Archive: existing customers stay on it, new ones cannot pick it.
Chapter 5Your first customer
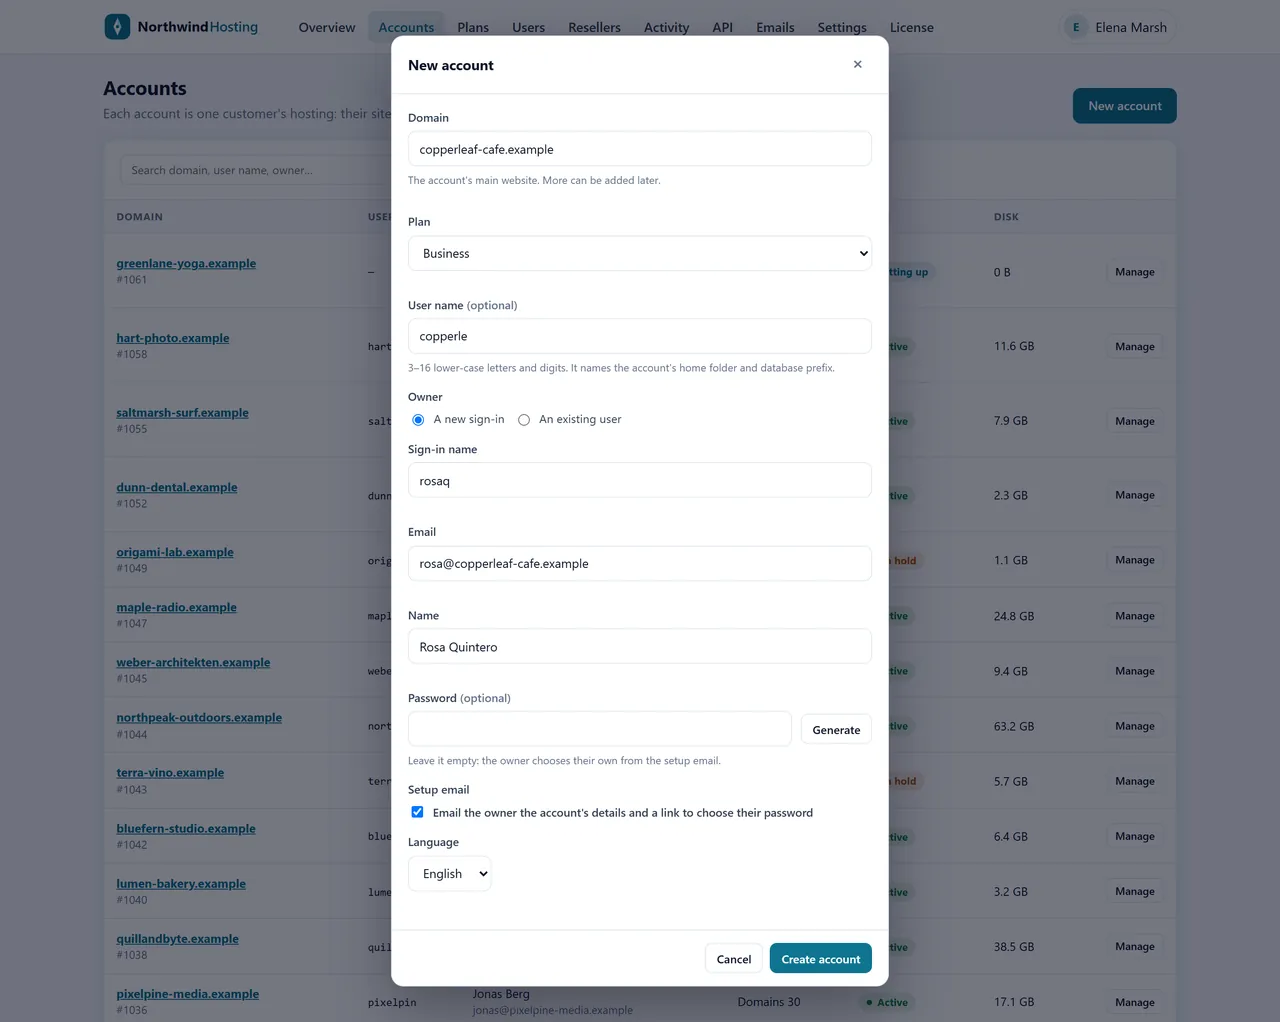
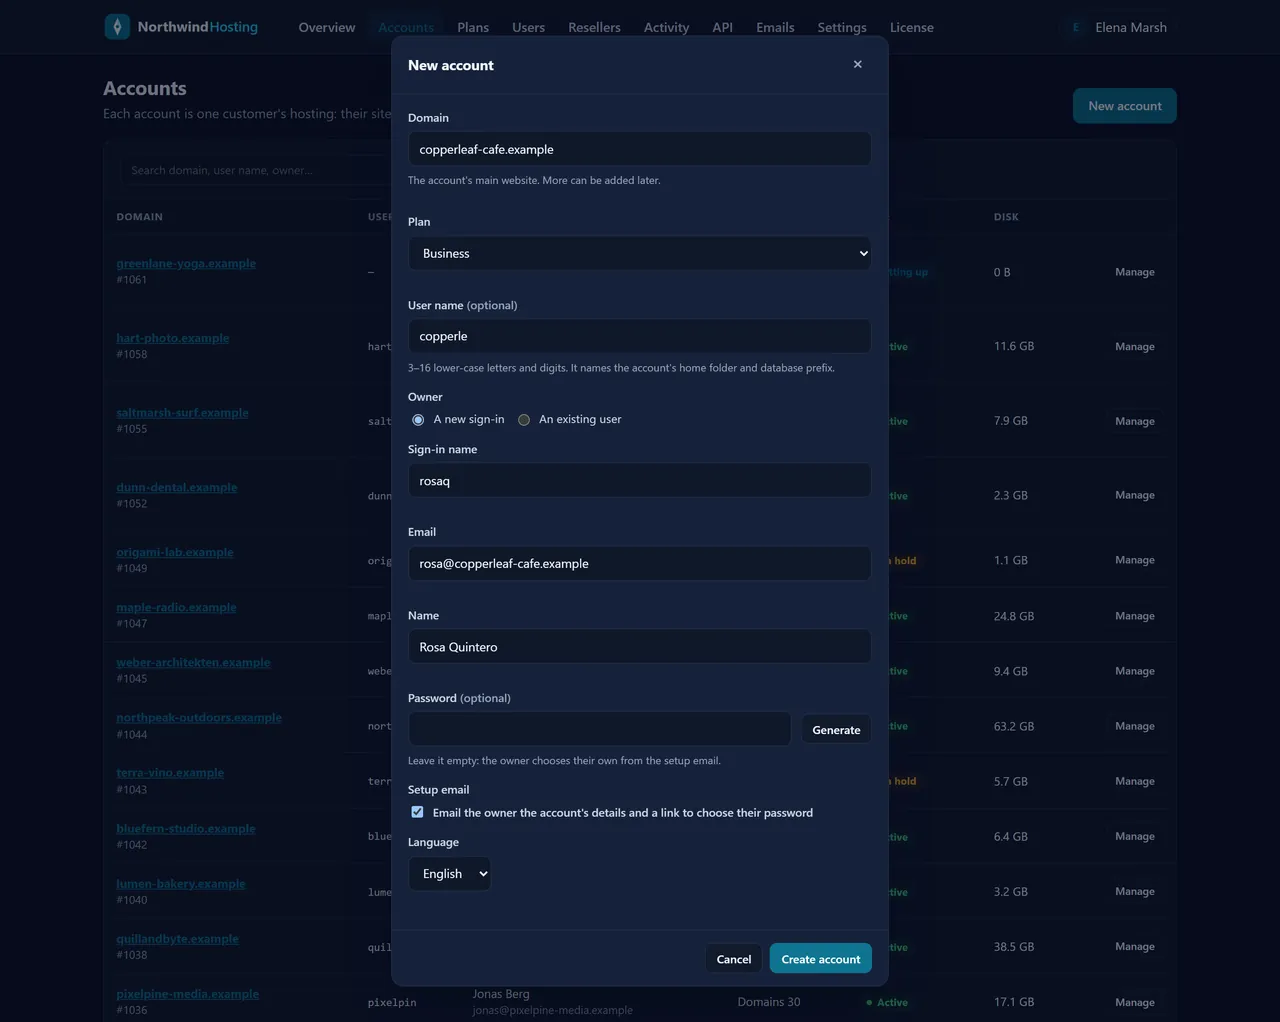
- Press New account (on the Overview or the Accounts page).
- Type the customer’s Domain and choose a Plan. Nexo suggests a user name from the domain.
- For someone new, keep A new sign-in and enter their email and name. For a customer who already has an account with you, choose An existing user.
- Leave the password empty: the customer will choose their own.
- Keep Setup email ticked, choose English or Spanish, and press Create account.
The account shows Setting up for a moment while the server builds it, then Active. Your customer receives a welcome email in your name with their panel address, user name, your nameservers and email settings, and a link to set their password.
Chapter 6Looking after customers
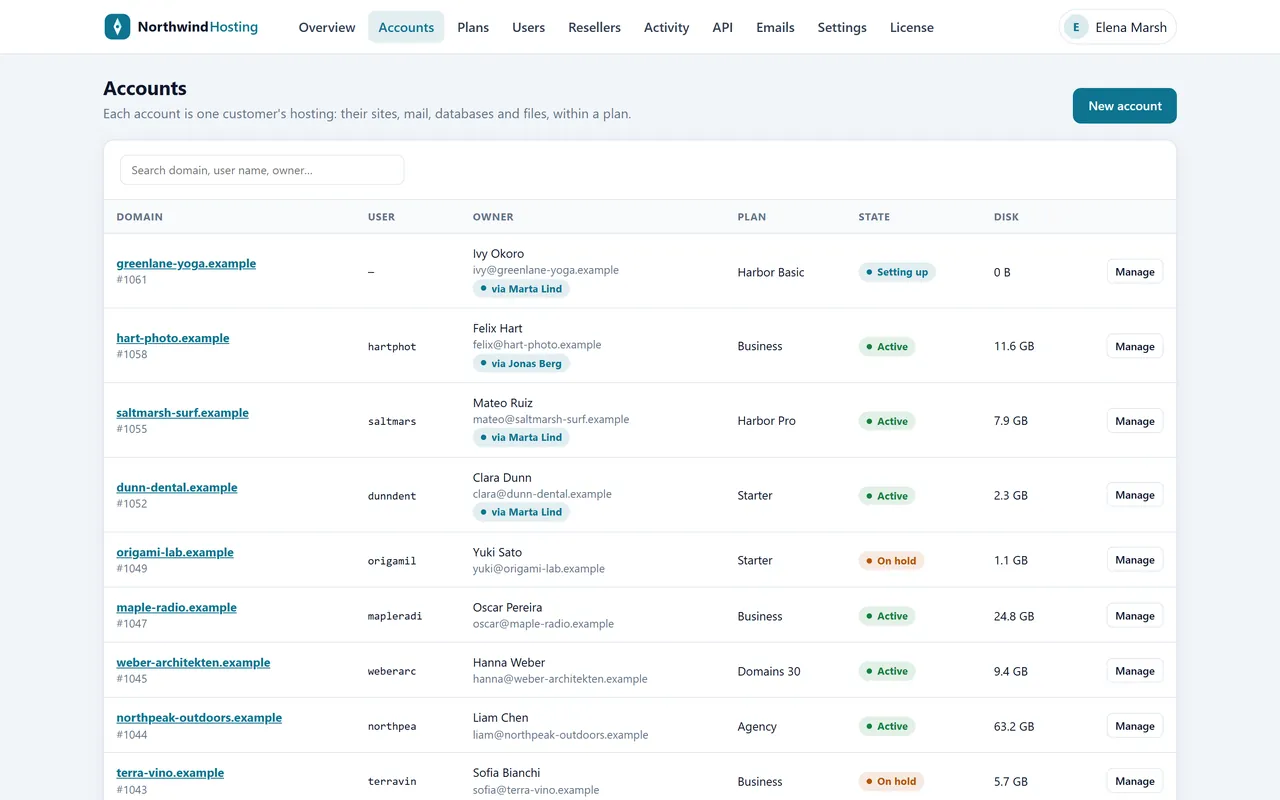
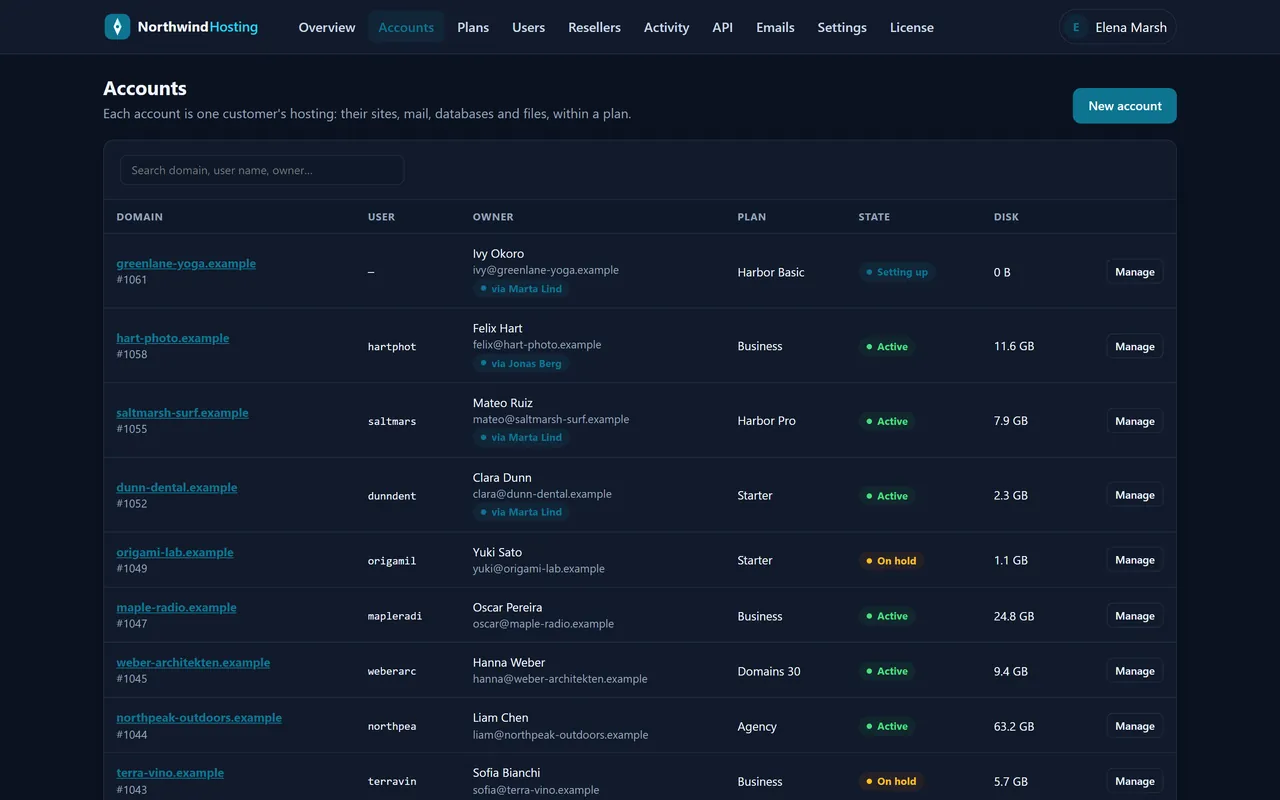
Accounts lists all your customers, with their plan, state and disk use, and a search box for domain, user name or owner. Manage opens one.
- You want to
- On the account’s page
- See what they see
- Open the panel as the owner. It is marked in the record as you, lasts up to two hours, and cannot change passwords or restore backups.
- Upgrade or downgrade
- Change plan
- Hand it to someone else
- Change owner
- Pause it for an unpaid bill
- Put on hold, with a reason; release it the same way
- End it
- Close account, typing the user name to confirm; its data is removed after a grace period
- Resend the welcome email
- Send it again in the Setup email card (the old link stops working)
- Reset a mailbox, FTP or database password
- Set a new password in Passwords
- Bring back yesterday’s site
- Restore… in Backups
- See who changed what
- The History card, or Activity for the whole server
Users lists every sign-in on the server: your colleagues (Administrator), resellers and customers. Give each colleague their own sign-in so the record shows who did what. Activity is that record, and Verify the record proves nothing in it was edited or removed.
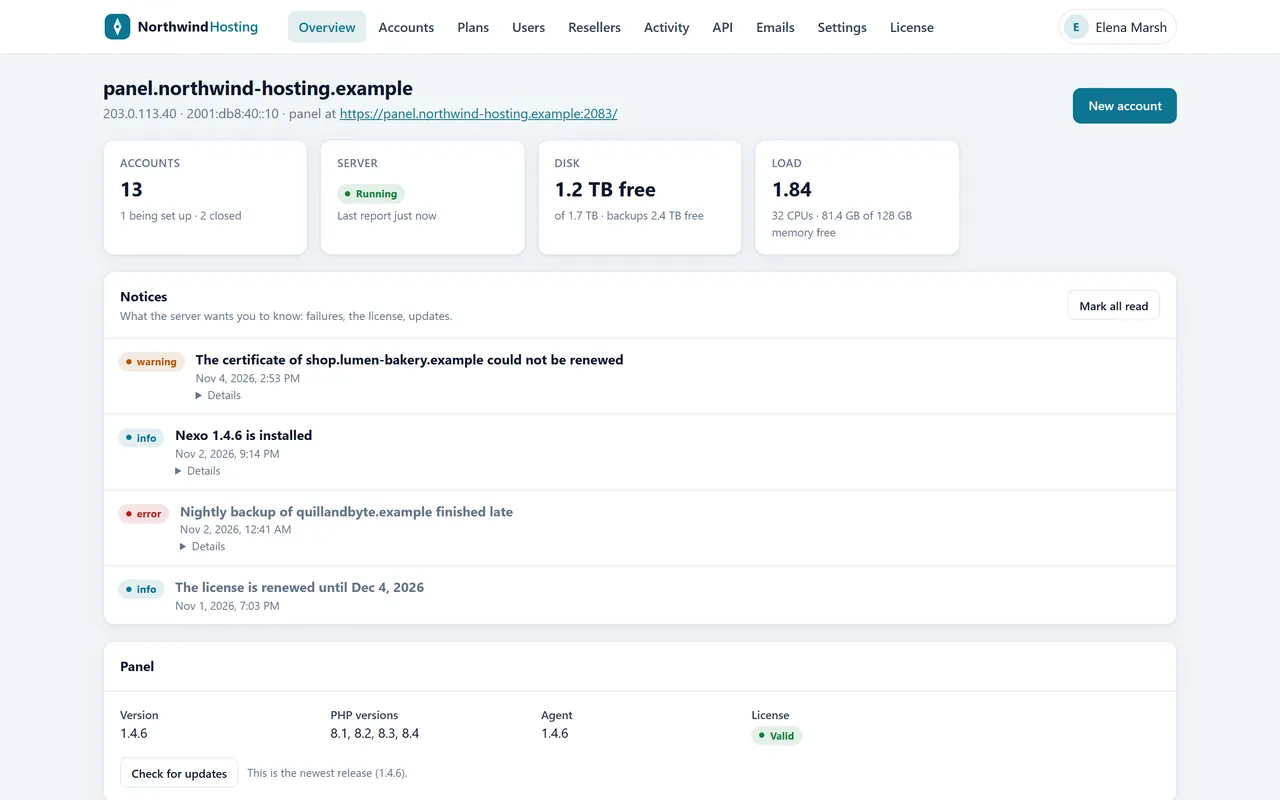
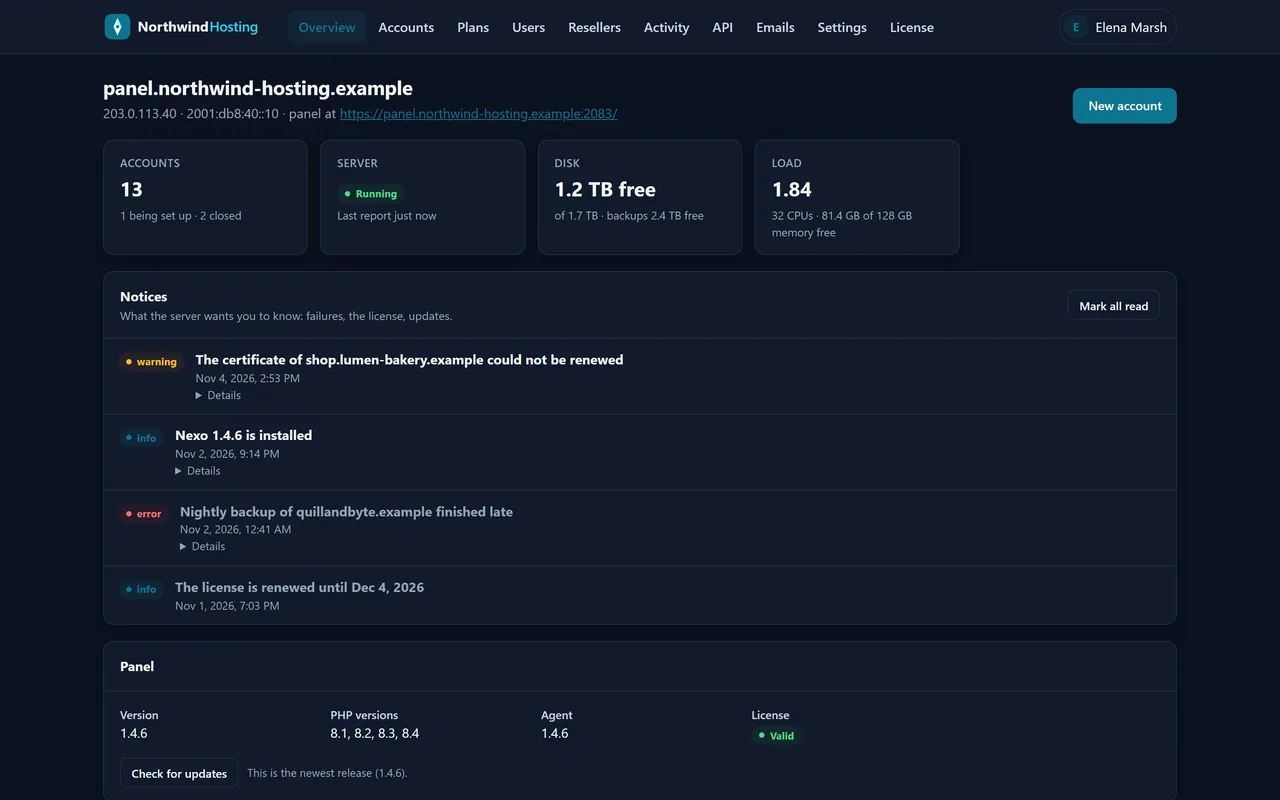
The overview tells you what needs you. Its Notices card lists a certificate that would not renew, a backup that failed or ran late, a new version installed, or a licence problem.
Chapter 7Bring in resellers
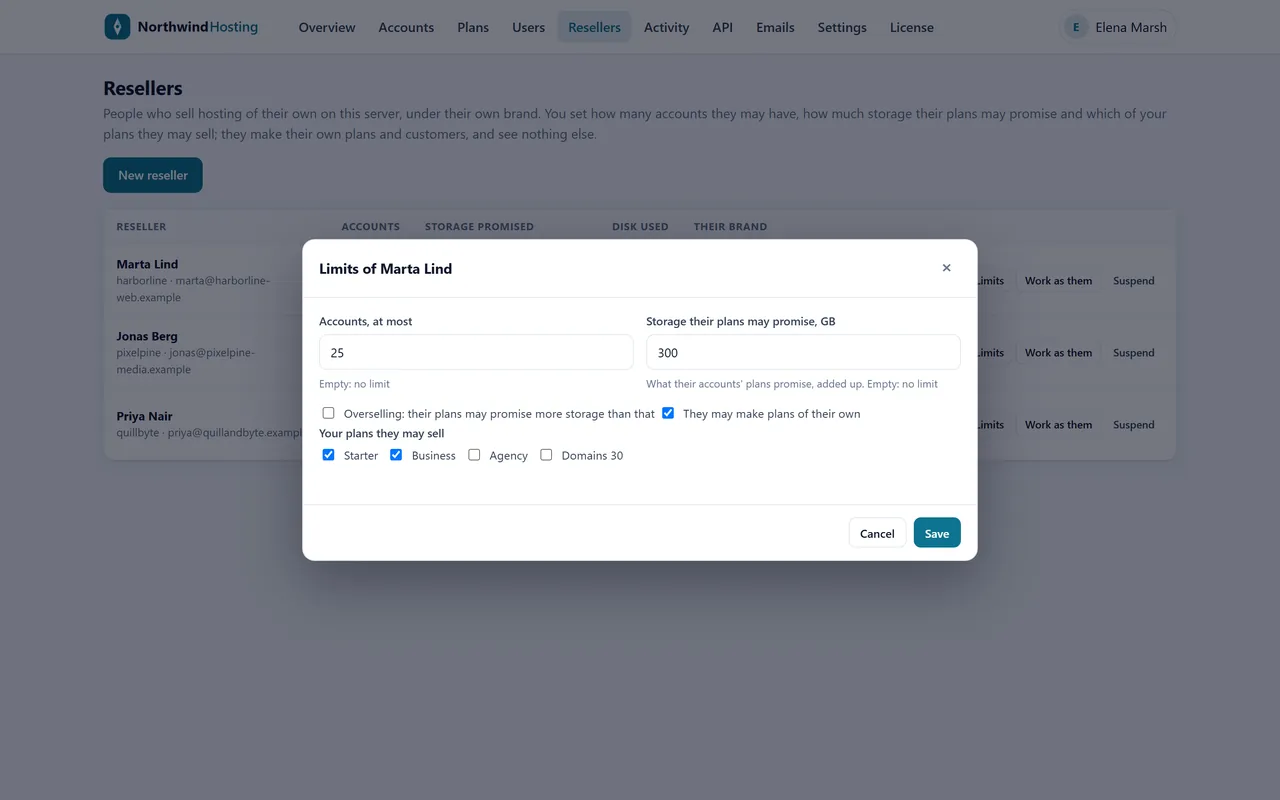
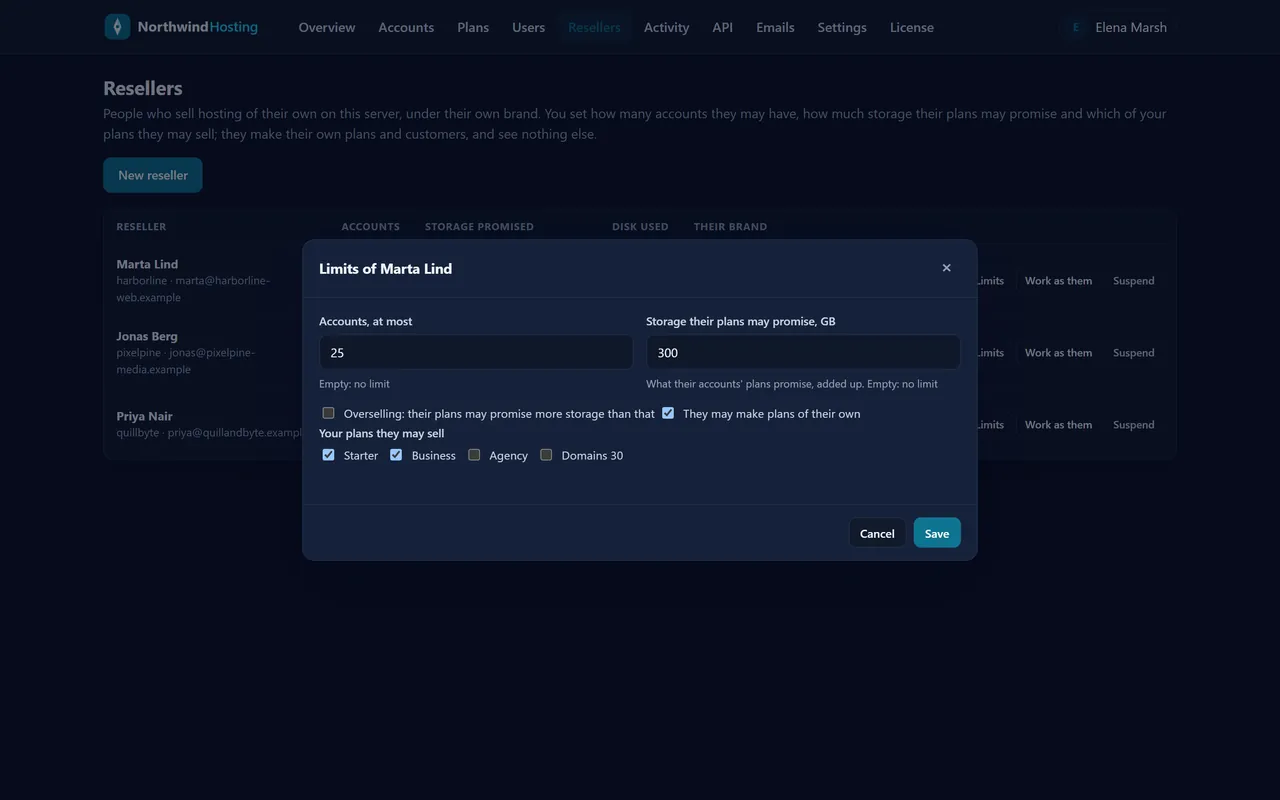
A reseller sells hosting under their own name on your server, while you keep control of how much they can take. On Resellers, press New reseller, then Limits:
- Accounts, at most: how many customers they may have.
- How much storage their plans may promise, and whether they may promise more than that (overselling).
- Whether They may make plans of their own, and Your plans they may sell.
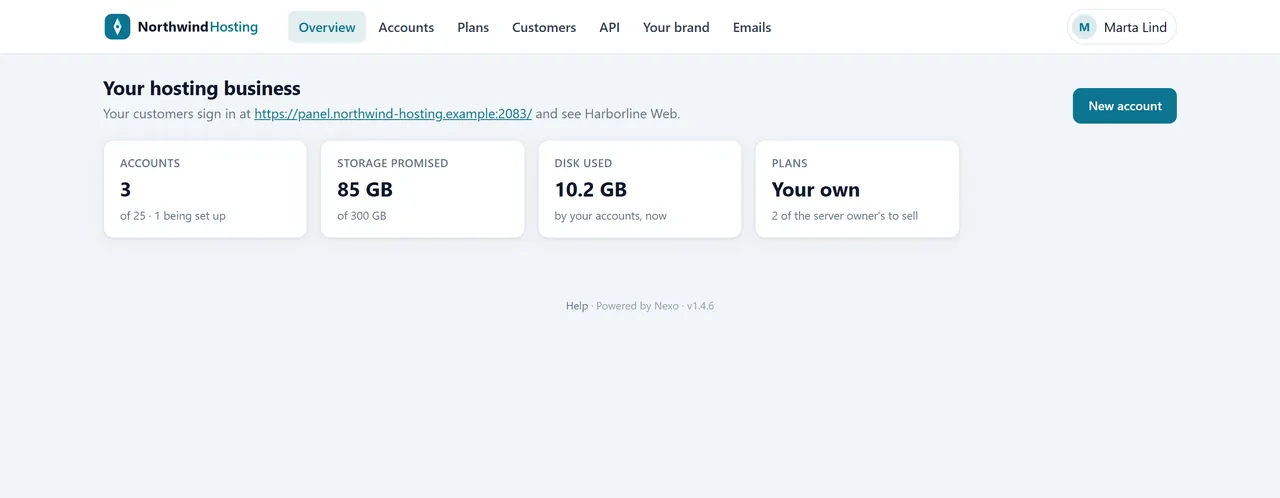
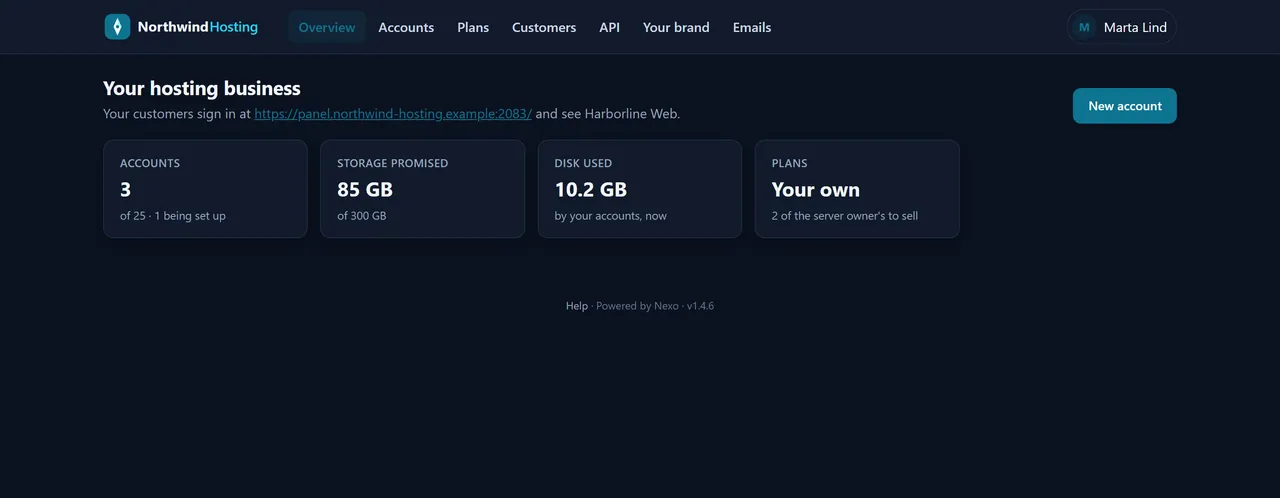
The reseller signs in at https://your-server:2083/admin/ and finds a shorter menu: Overview, Accounts, Plans, Customers, API, Your brand and Emails. Under Your brand they set their own name, colour, logo and nameservers on their own domain, and their customers see only that. They can open their customers’ panels to help, but they never see yours or another reseller’s.
Need to step in? Work as them shows their side as they see it. Suspend pauses the reseller and every one of their customers in one go.
Chapter 8Welcome emails in your name
Every new account’s owner gets a welcome email: where to sign in, their user name, your nameservers, the server’s address, their email and FTP settings, and a link to choose a password that works once. You decide how it reads on the Emails page:
- Switch it on or off, and pick English or Spanish as the default (each account can have its own).
- Set who it comes from and who replies go to, your company name, logo and support address.
- Rewrite the messages. Click a placeholder to insert things like the customer’s name or domain, use Preview and Send a test, and Restore the default if you want to start again. Save with Save setup emails.
- Send through the server itself or your own mail provider.
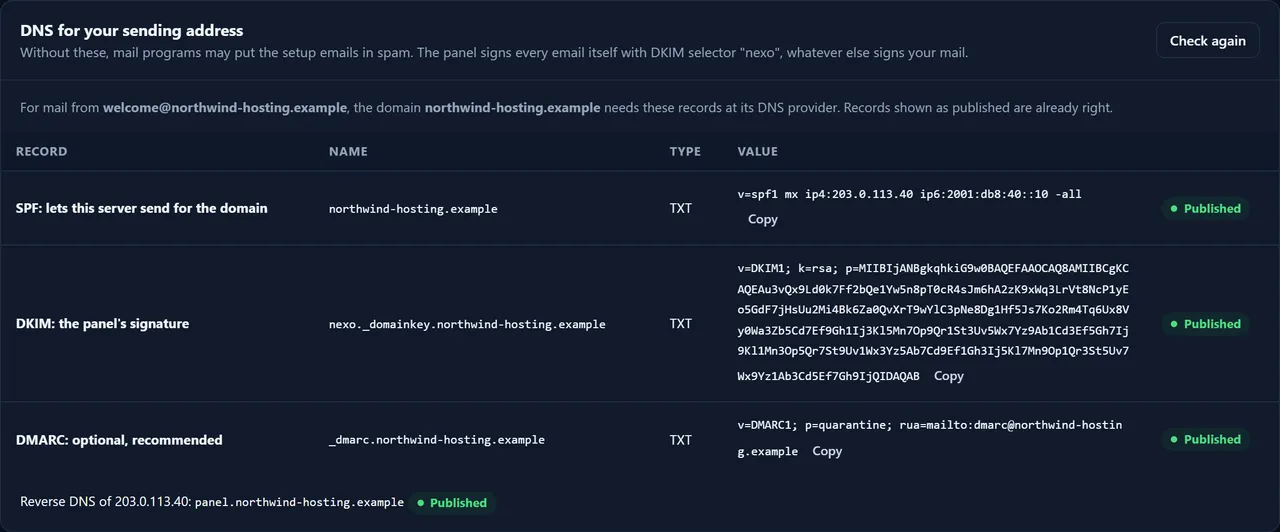
Keep it out of spam folders. The DNS for your sending address card shows two records to add for your domain: a DKIM key named nexo._domainkey and your server in its SPF record. Add them where your domain’s DNS lives and press Check again until both say Published.
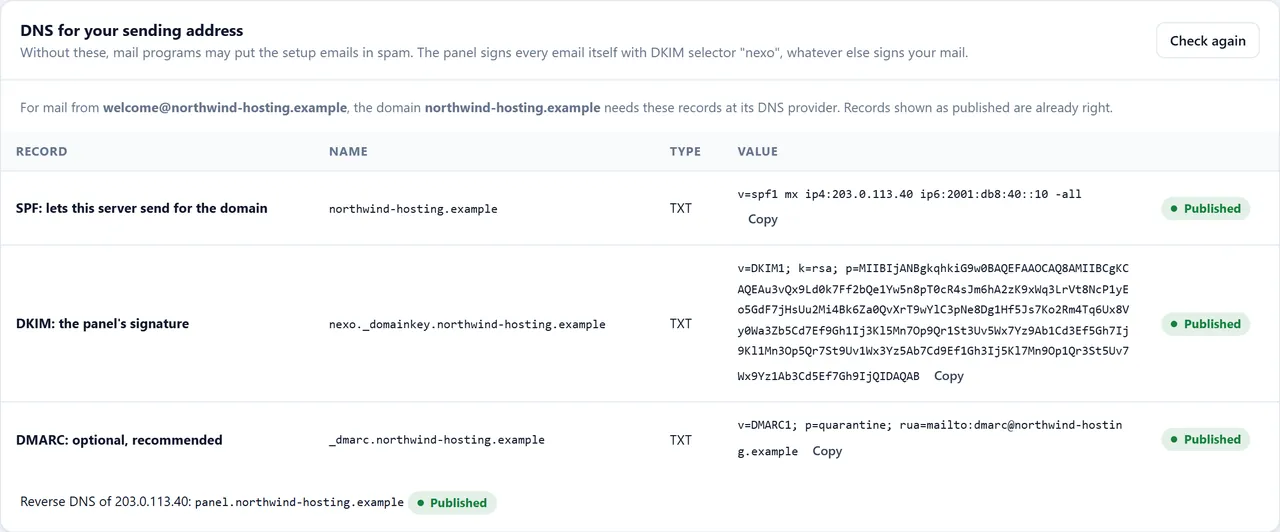
Resellers have the same page and send under their own brand.
Chapter 9Billing, WHMCS and your own code
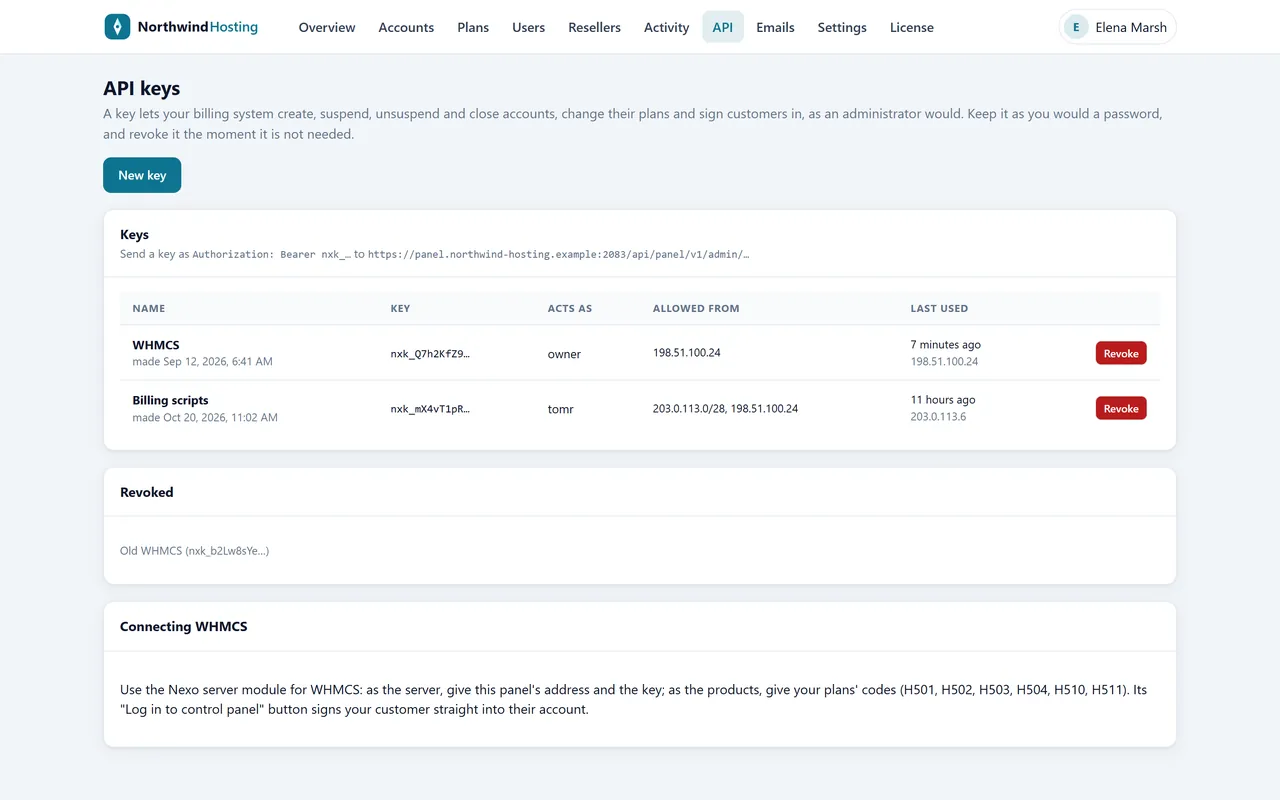
Nexo looks after the hosting; invoices stay in the billing system you already use. Connect the two with an API key, and orders open accounts, unpaid invoices pause them and cancellations close them, with nobody typing anything.
Connect WHMCS
- Download our WHMCS module for Nexo and upload the
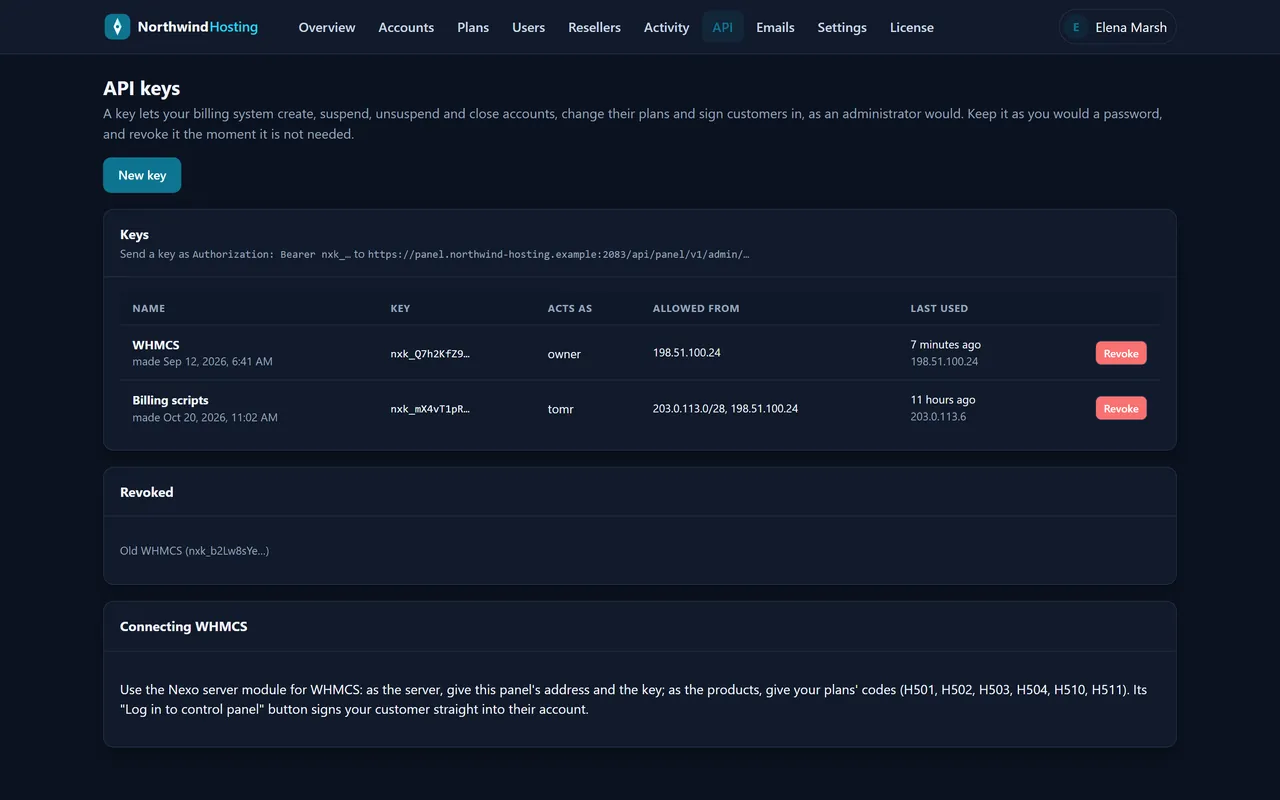
nexofolder tomodules/servers/in your WHMCS. - In Nexo, open API and press New key. Name it “WHMCS” and put your WHMCS server’s IP address under Allowed from. Copy the key now: it is shown only once.
- In WHMCS, add a server: module Nexo Panel, your panel’s hostname, the key as the password, port 2083, secure connection on. Test Connection should list your plans.
- Set each hosting product to the Nexo Panel module and pick the Nexo plan it sells.
WHMCS then creates, suspends, unsuspends, upgrades and terminates accounts, changes passwords, reads disk usage, and gives each customer a button that signs them straight into their panel.
Your own code
Anything that can send a web request can do the same. Send the key as Authorization: Bearer nxk_… to https://your-server:2083/api/panel/v1/admin:
curl -s https://your-server:2083/api/panel/v1/admin/accounts \
  -H "Authorization: Bearer $KEY" -H 'Content-Type: application/json' \
  -d '{"domain":"cafe.example","plan":"H501","owner":{"username":"cafe","email":"owner@cafe.example"}}'
Other calls list plans and accounts, suspend and unsuspend, change a plan, close an account, resend the welcome email, set a password and make a one-time sign-in link (/accounts/<id>/sso, good once, for two minutes). A reseller’s key reaches only that reseller’s customers. Every change made with a key appears in Activity under the key’s name, and Revoke stops a key immediately.
Chapter 10Nexo Turbo: faster websites
Turbo is our own speed layer, and it comes with every licence. Switch it on from the Turbo card on your Overview. From then on:
- Pages can be kept ready in a cache, so a busy WordPress site answers in milliseconds instead of rebuilding every page for every visitor.
- Websites are served over HTTP/3 as well as HTTP/2, and compressed.
- Floods of traffic from one address are slowed down, and a site under attack can make new visitors pass a quick automatic browser check.
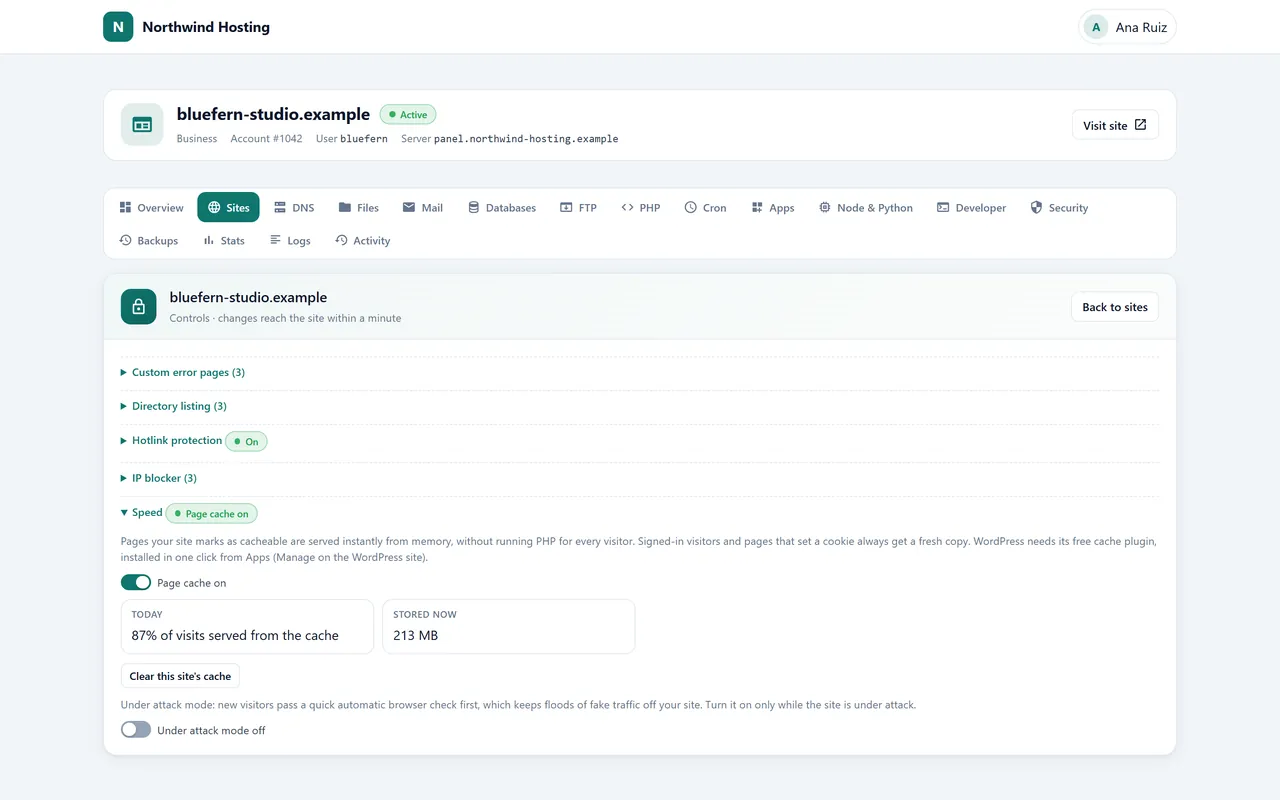
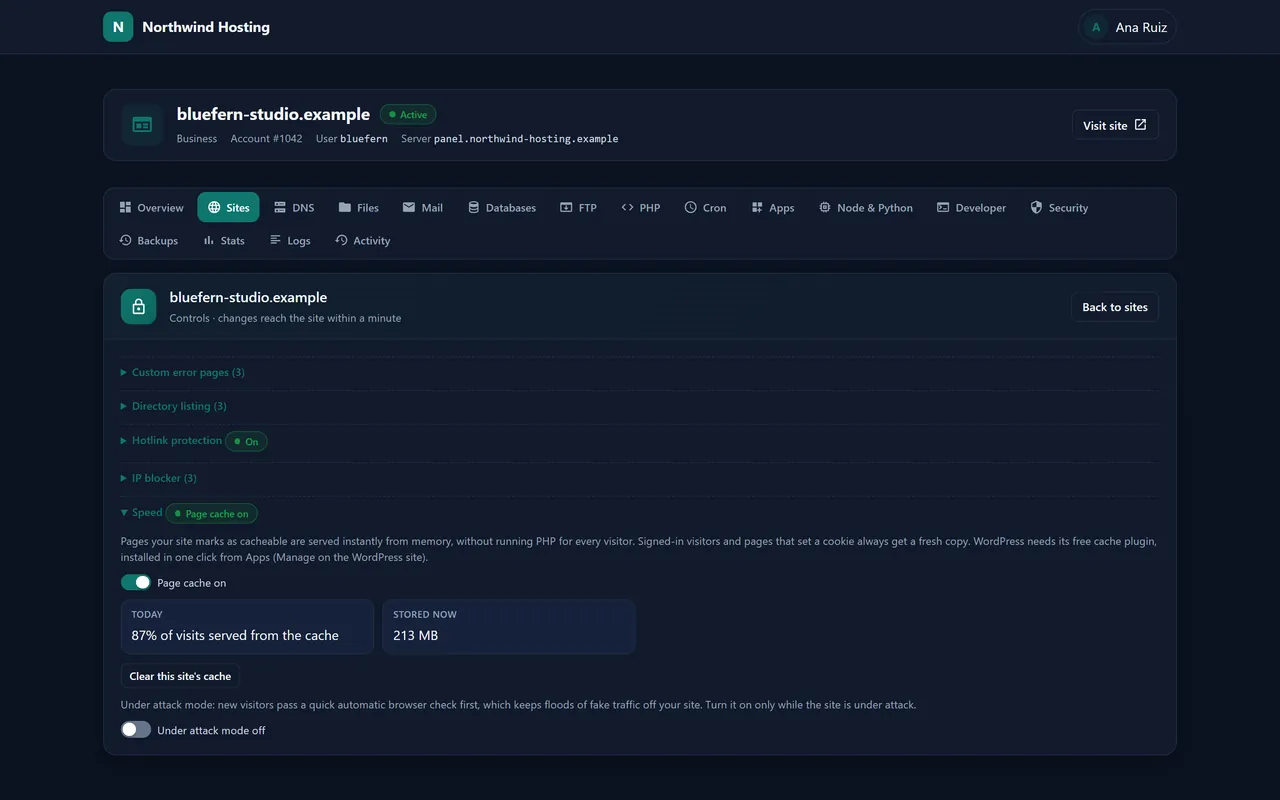
- Each customer gets a Speed section on every website, with the cache on or off, how many visits came from the cache today, a button to clear it, and the under-attack switch.
WordPress sites use a popular WordPress cache plugin to tell Turbo what to keep; customers install it with one click. Switch Turbo off and the server goes back to exactly how it was.
Chapter 11Your customers’ panel
Customers sign in at the same address as you, https://your-server:2083/, and land in a panel with your brand. Its tabs, left to right:
Storage, plan limits, server and email details, traffic, CPU and memory.
Domains, subdomains, extra names, HTTPS, redirects, controls and Speed.
Records and lookup tools.
The file manager.
Mailboxes, forwarders, replies, filters, spam, webmail.
Databases, users, phpMyAdmin, remote access.
Extra logins and who is connected.
Version and settings.
Scheduled tasks.
WordPress and five more, in one click.
Apps that keep running.
SSH, keys, Git and API tokens.
Certificates and locked folders.
Restore and download.
Visitors and uptime.
Error and access logs.
Every change on their account.
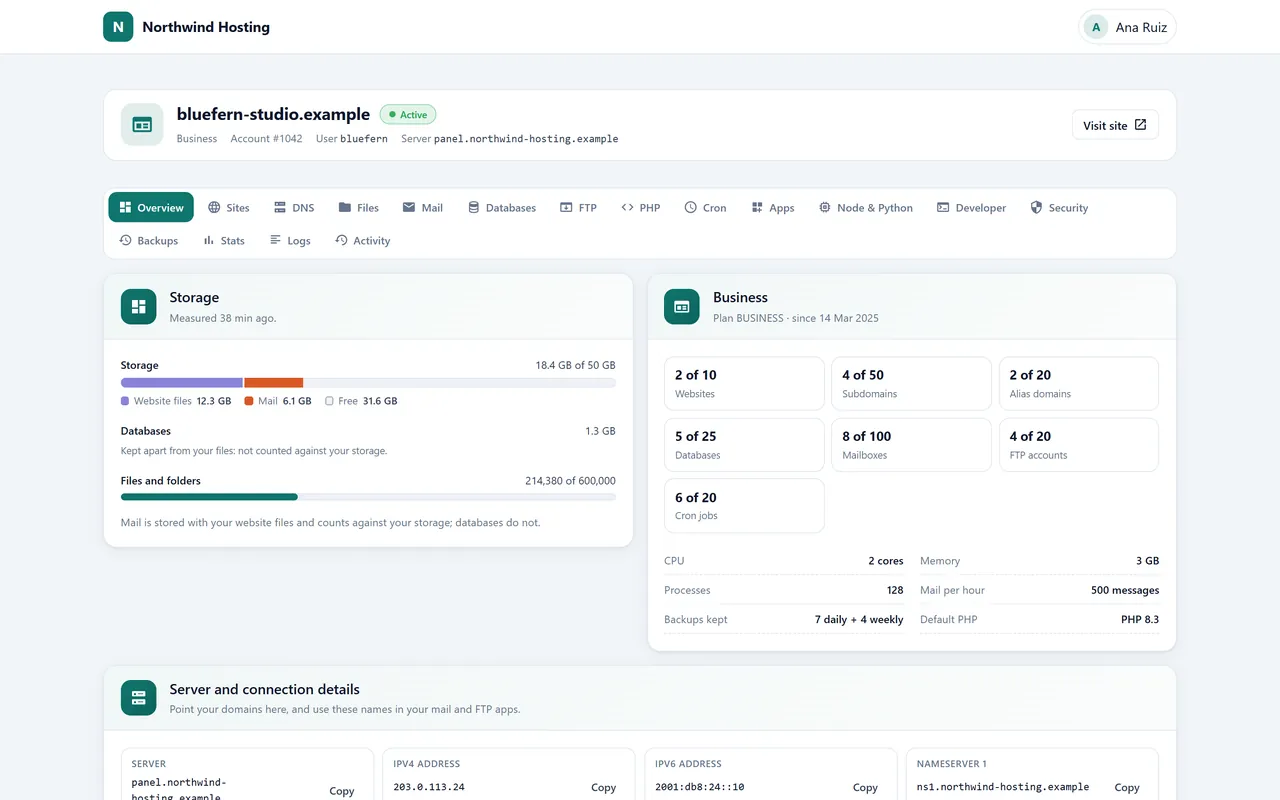
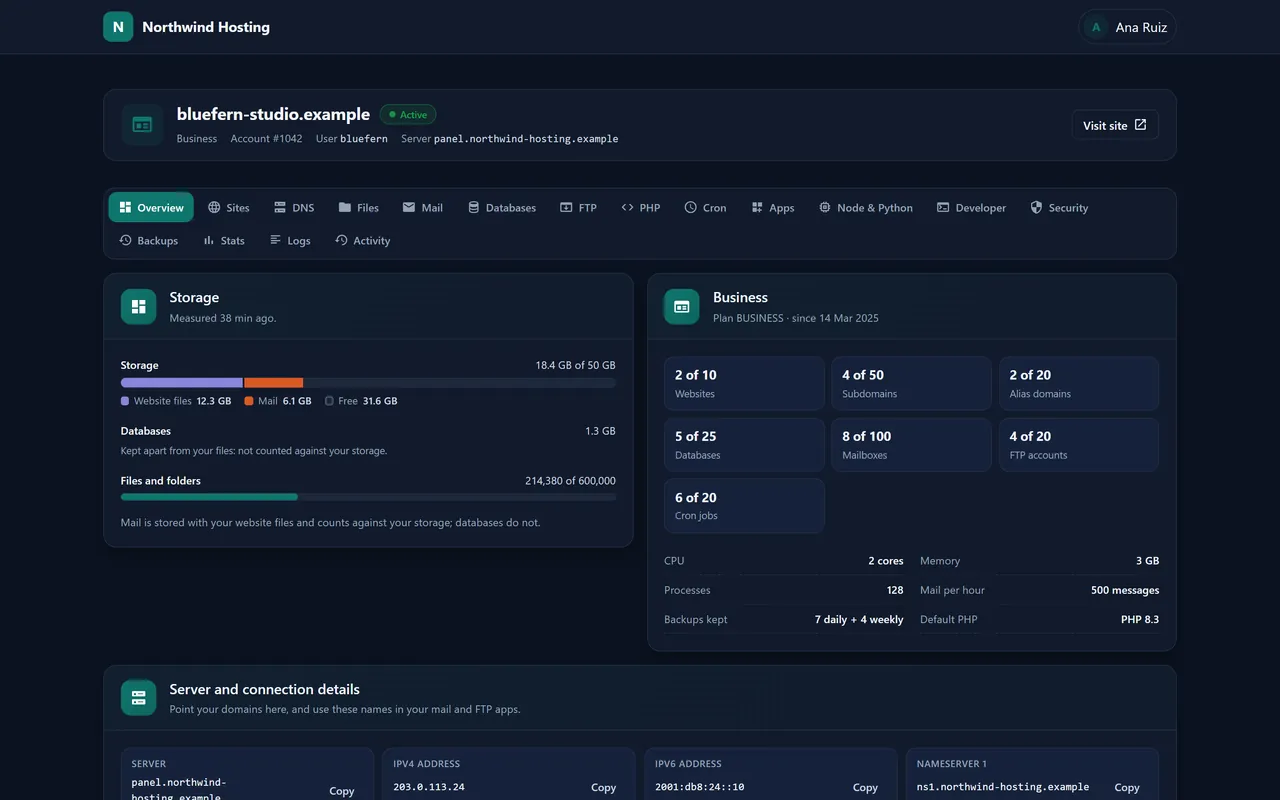
The Overview’s Server and connection details card is the one to send customers to first: it has your nameservers, the server’s addresses, webmail, the FTP host and the mail server, each with a Copy button. Further down, Bandwidth and CPU and memory show 30 days of traffic and hour-by-hour use against the plan.
Chapter 12Websites and domains
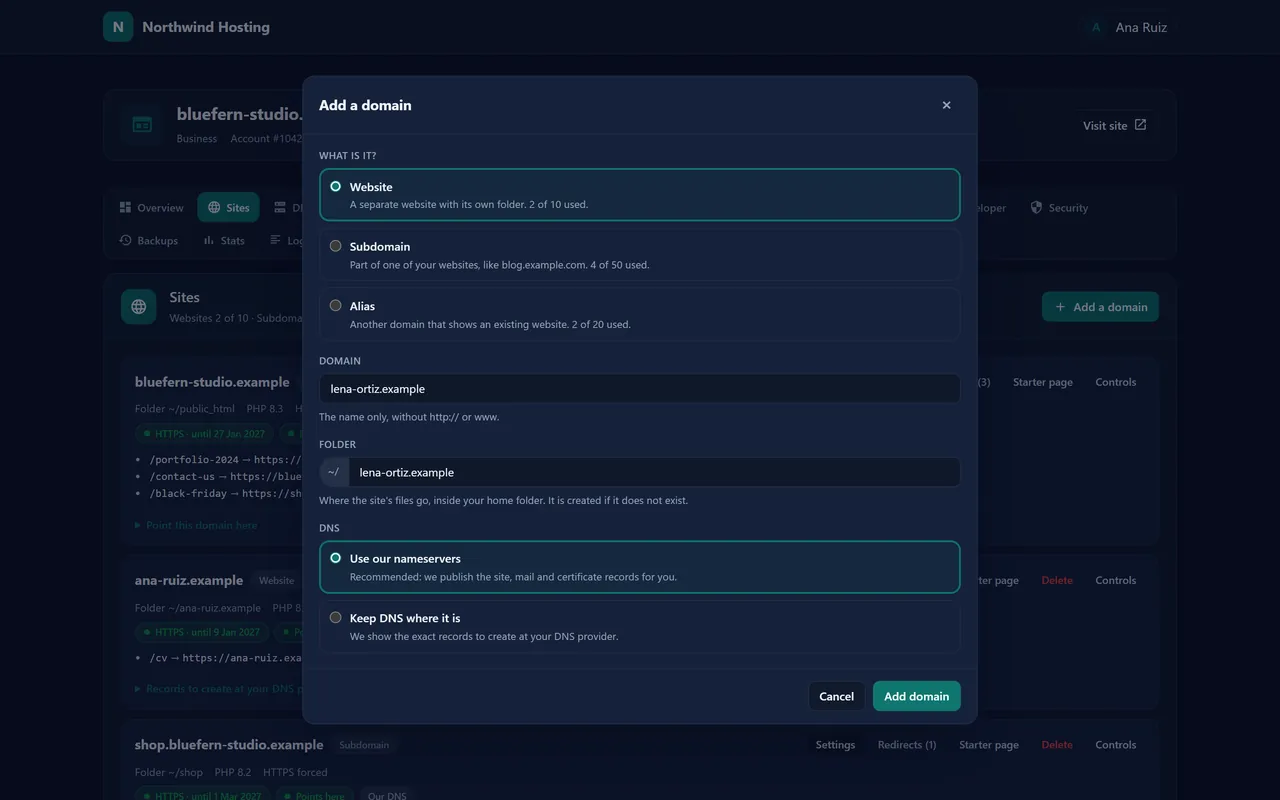
To add a website, the customer opens Sites and presses Add a domain. They say whether it is a Website, a Subdomain or an Alias (one more name for a site they already have), type the domain, and pick Use our nameservers or Keep DNS where it is. With the second, the row shows exactly which records to create at their DNS provider. As soon as the domain points to the server, a free certificate is issued and renews by itself.
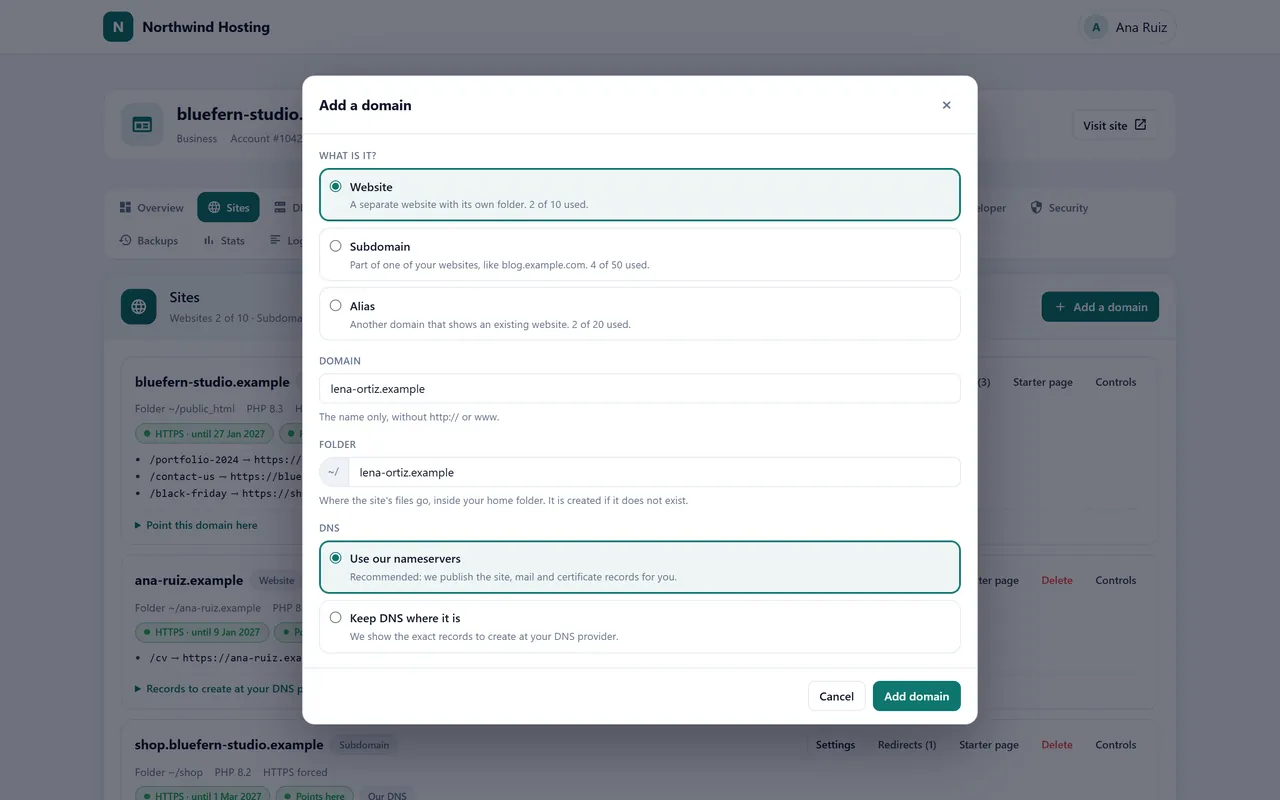
Each site’s row has Settings (its folder, its PHP version from 8.1 to 8.4, always using HTTPS, with or without www, or redirecting the whole site), Redirects, a Starter page (Under construction, Coming soon or a business card, in one click) and Controls: their own error pages, folder listings on or off, hotlink protection, an IP blocker and, with Turbo, Speed.
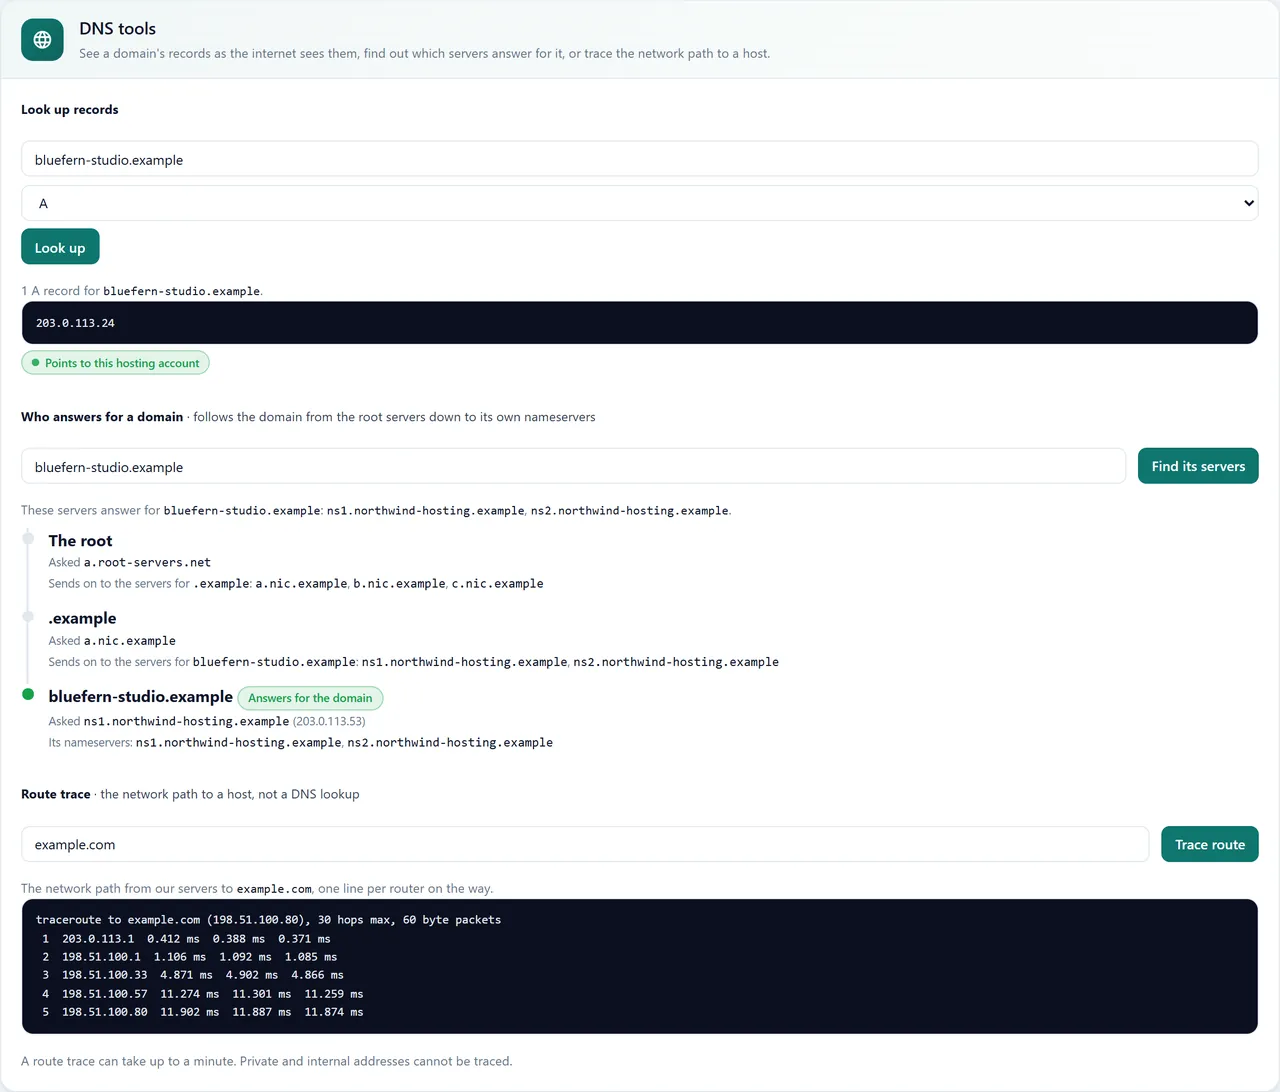
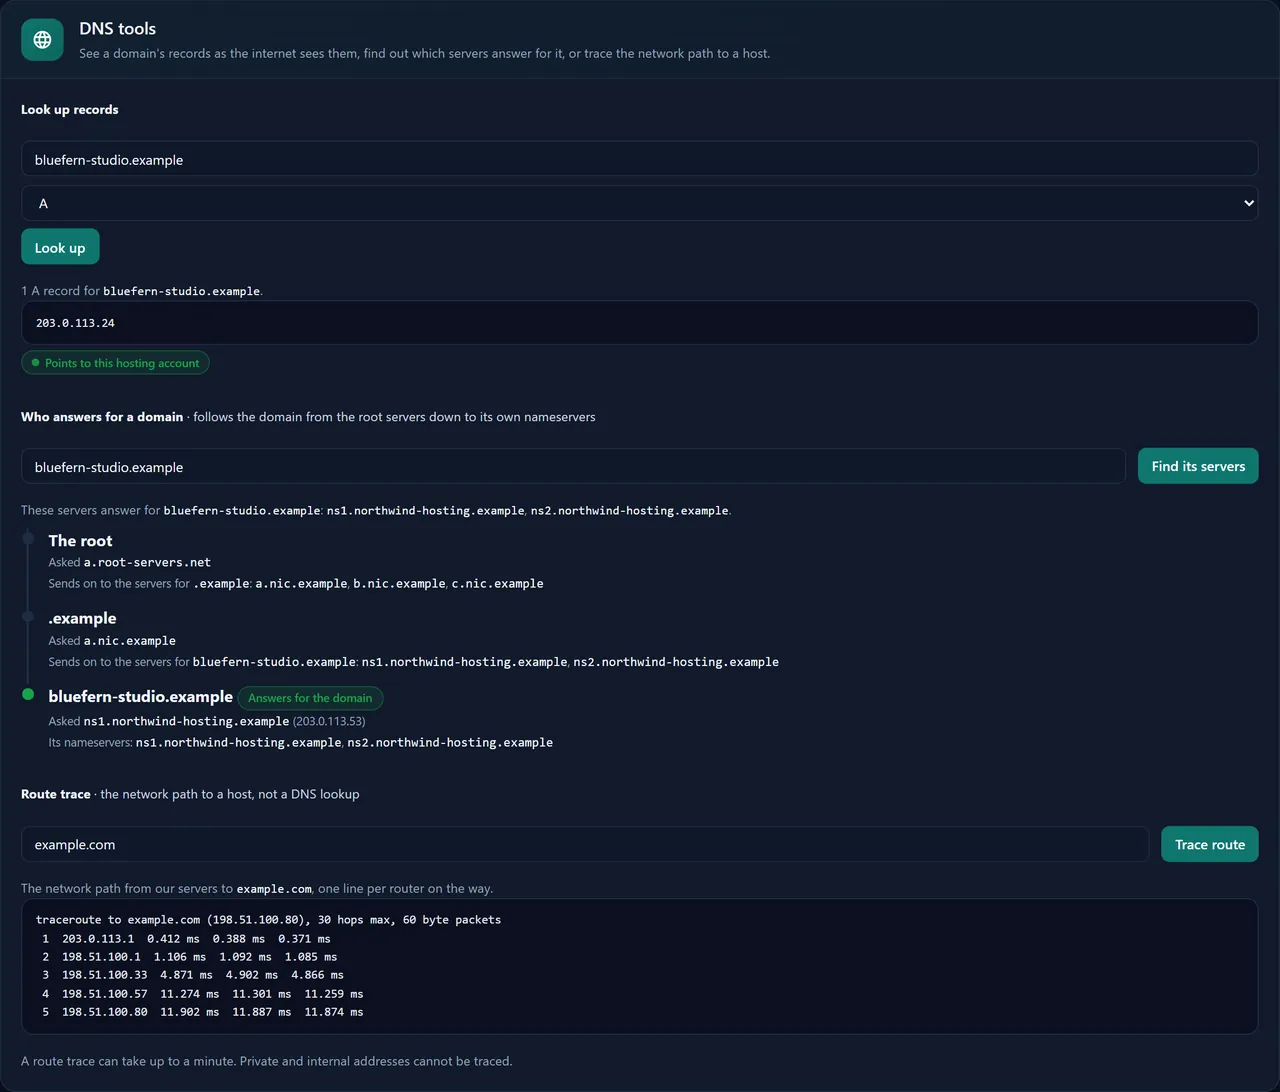
On the DNS tab they edit their records. The ones Nexo fills in, such as the records email needs, are marked Default, and anything they change can be put back with Restore default. DNS tools checks what the world sees for a domain, which servers answer for it, and the route to any address.
Chapter 13Email
- Add mailbox creates an address with a password and a size; Webmail opens it in the browser.
- Add forwarder passes an address on to others; Catch-all decides what happens to mail for addresses that do not exist.
- Automatic replies for holidays, Filters to sort or refuse mail, and Spam to set how strict to be and which senders to always allow or block.
- Import addresses creates up to 1,000 mailboxes or forwarders from a CSV file at once, handy when a whole company moves over.
- Email routing sends a domain’s mail to another mail service instead, if the customer uses one.
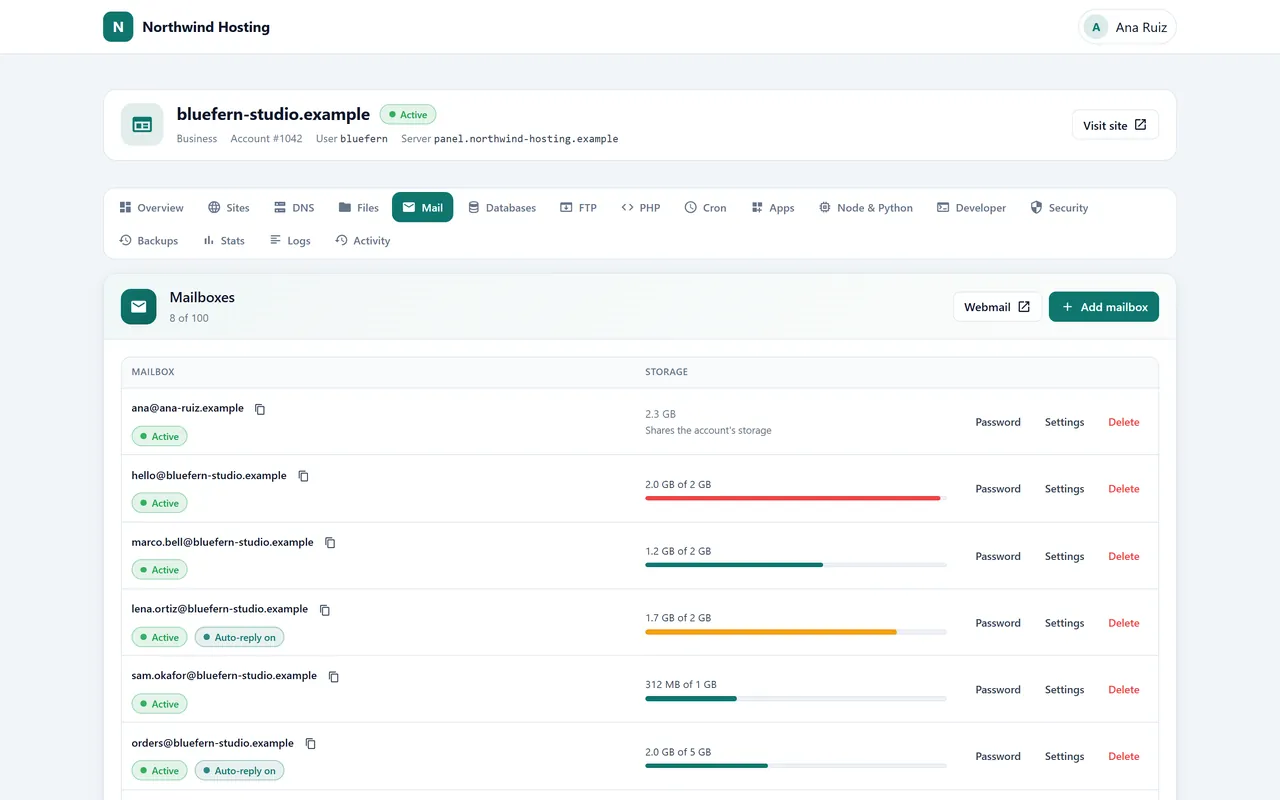
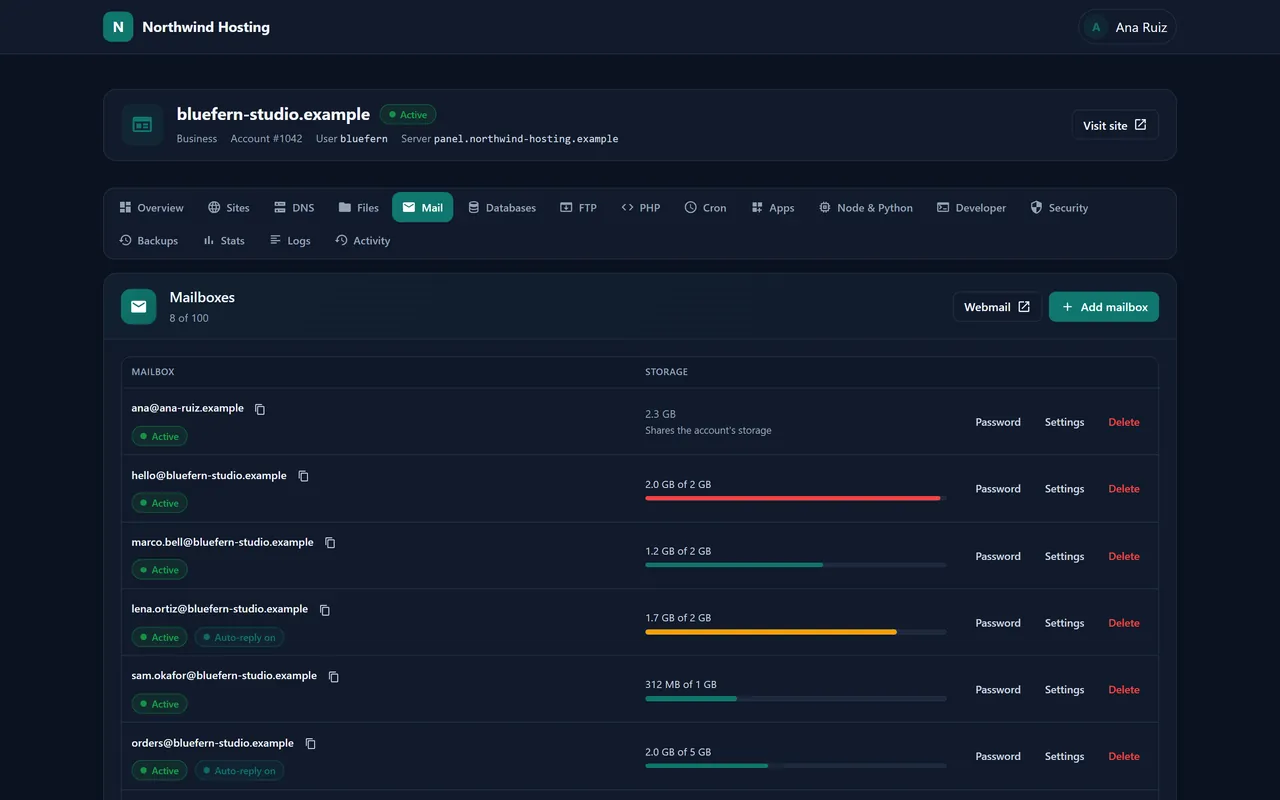
Phones and mail apps usually set themselves up from the address alone. If one asks, the Connect a mail app card has the details: IMAP on port 993 or POP3 on 995 with SSL/TLS for incoming mail, and SMTP on 465 (SSL/TLS) or 587 (STARTTLS) for outgoing, with the full email address as the user name.
Chapter 14Files, FTP and databases
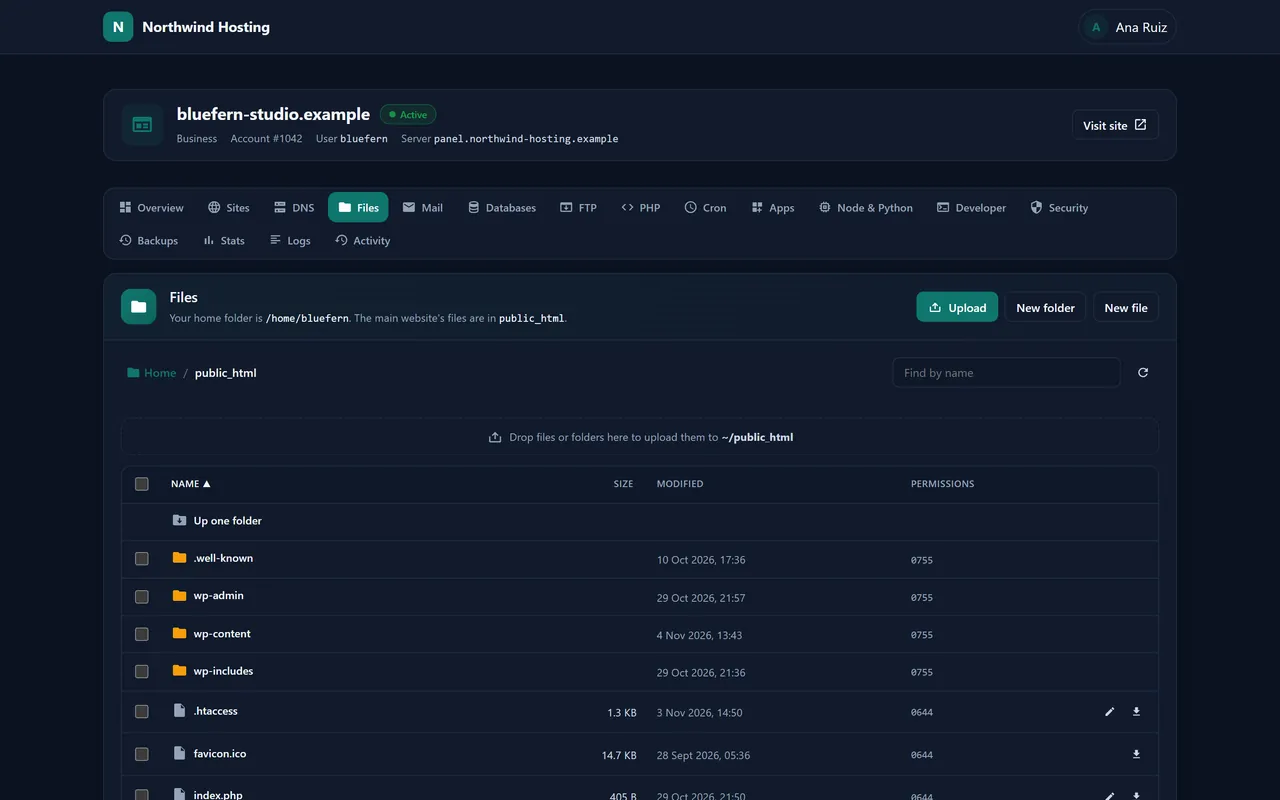
Files works like the folders on a computer: drag in files or entire folders, create, rename, move, copy and delete, change permissions, pack into a zip or unpack one, and edit a page straight in the browser.
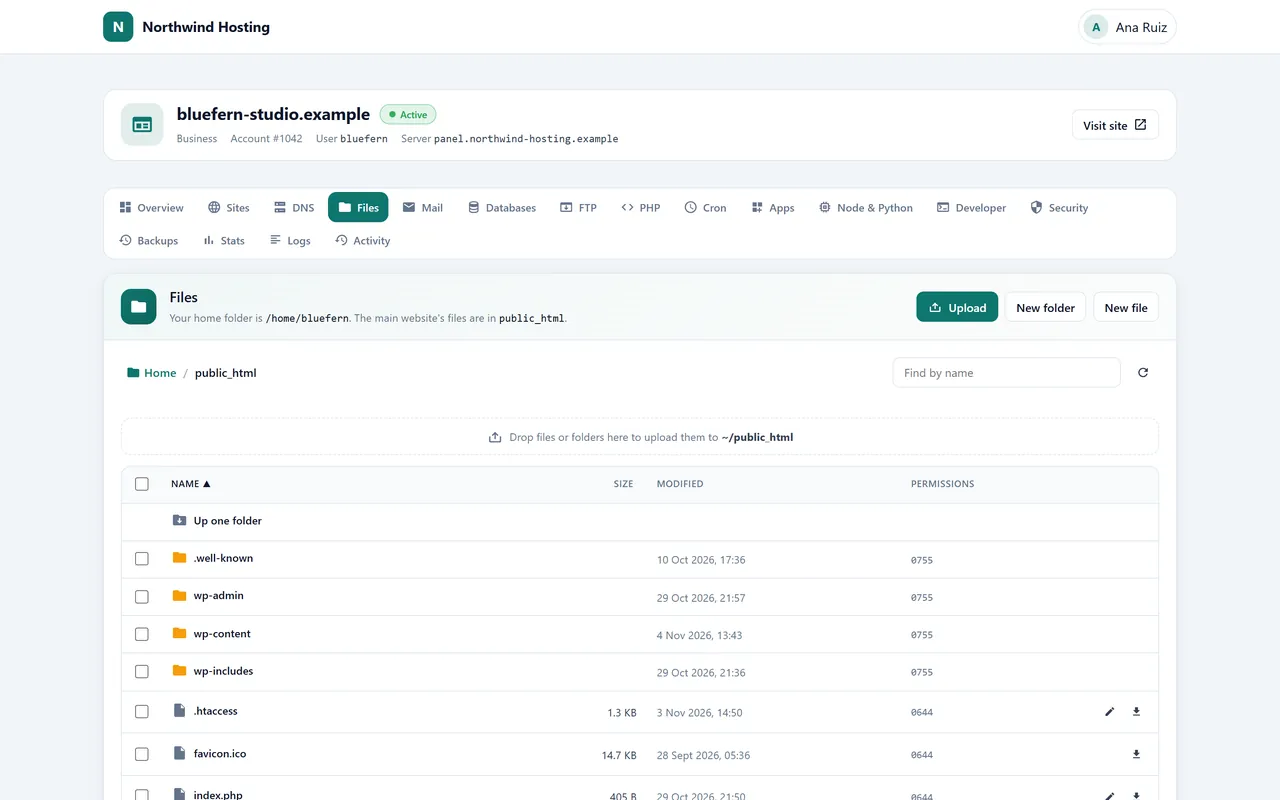
For a web designer with their own program, Add FTP account makes a login limited to one folder. Connections are encrypted (FTPS on port 21), and Connected now shows who is on.
On Databases, New database and New user create them, and the Access grid decides which user may use which database. Open phpMyAdmin signs in without another password. A database can be reached from another computer only once its address is added under Remote access with Allow a host.
PHP sets the version and settings such as memory, upload size and time zone, and Cron runs scripts on a timetable.
Chapter 15Apps, WordPress and developers
One-click apps
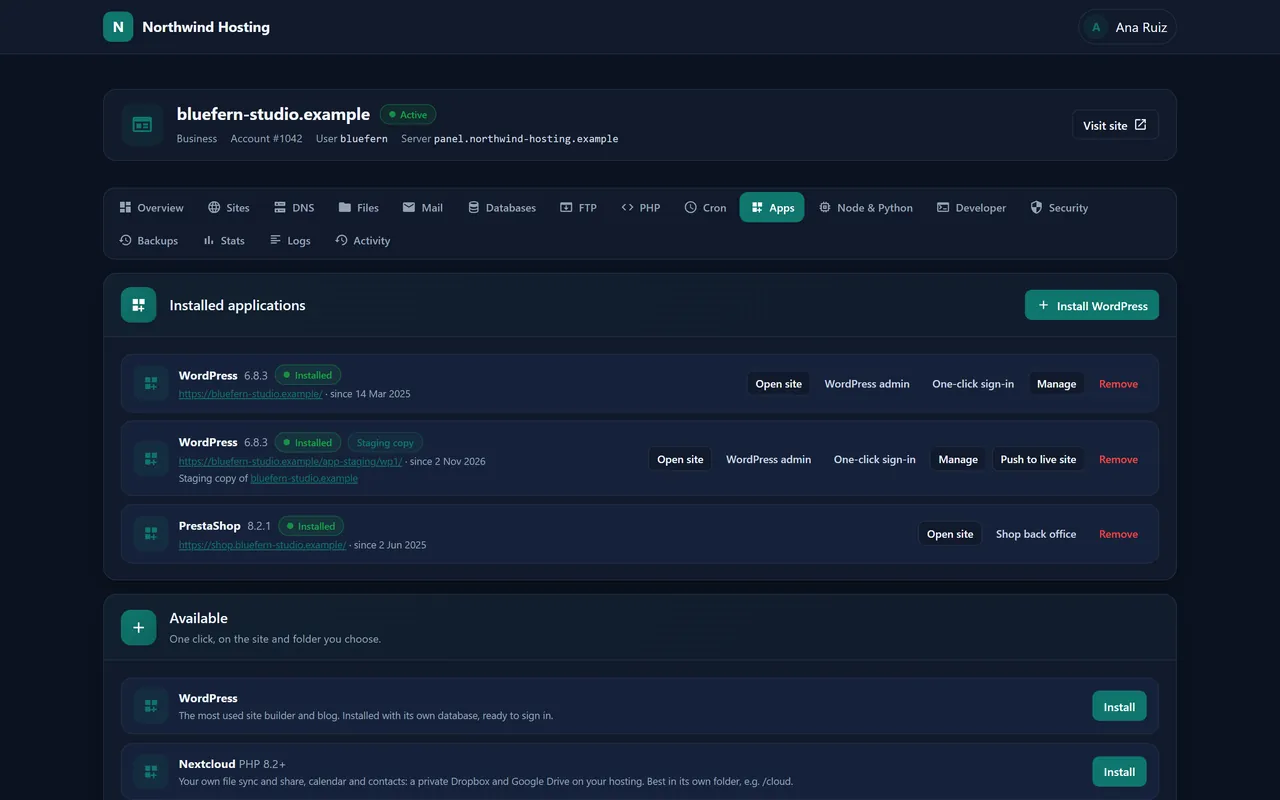
On Apps, customers install WordPress, Nextcloud, Joomla, Drupal, PrestaShop or Laravel with its database in one go, and remove one just as easily. For WordPress, Manage updates WordPress, plugins and themes, tightens security, installs the cache plugin for Turbo and makes a staging copy. One-click sign-in opens the WordPress dashboard without its password.
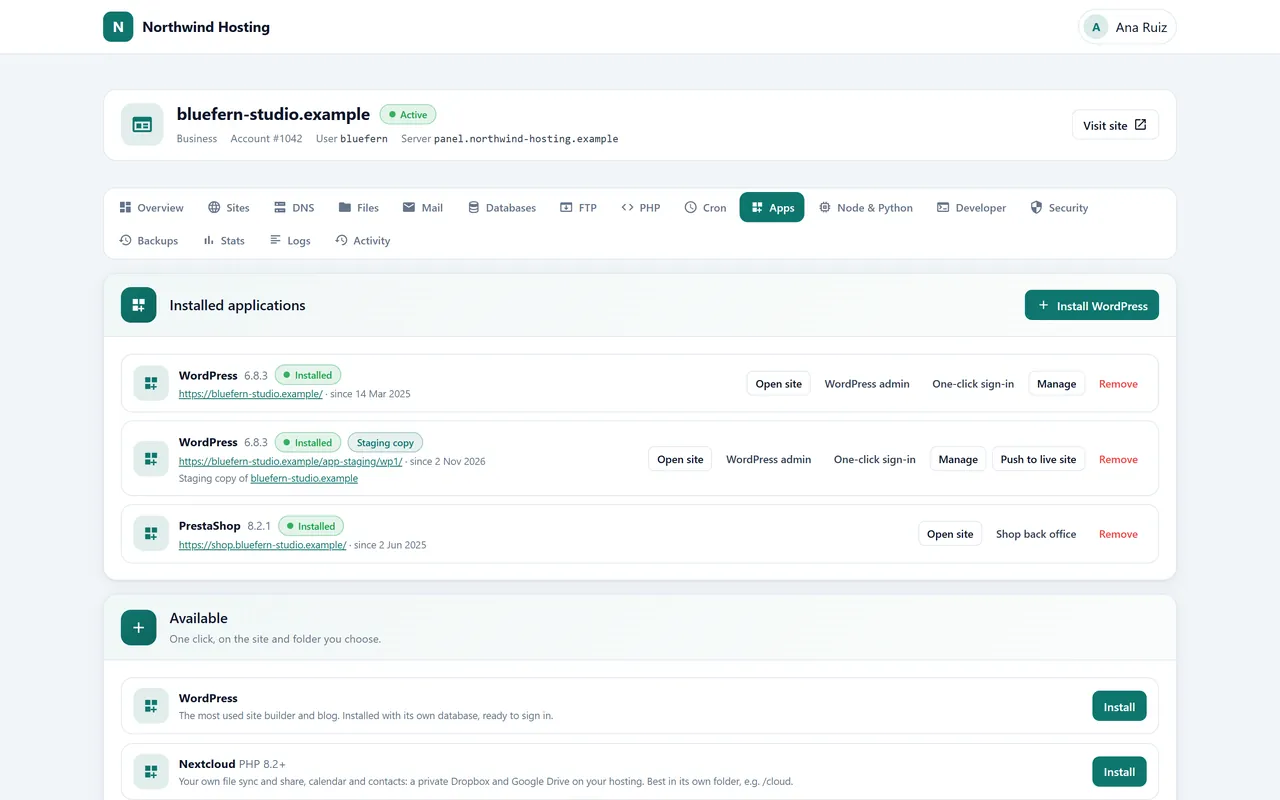
Node.js and Python
Node & Python runs an app that keeps going on a website’s address: Node.js 22, 24 or 26, or Python 3.11 to 3.14. Nexo restarts it if it stops, shows whether it is Running, and keeps its log a click away (View log).
SSH, Git and API tokens
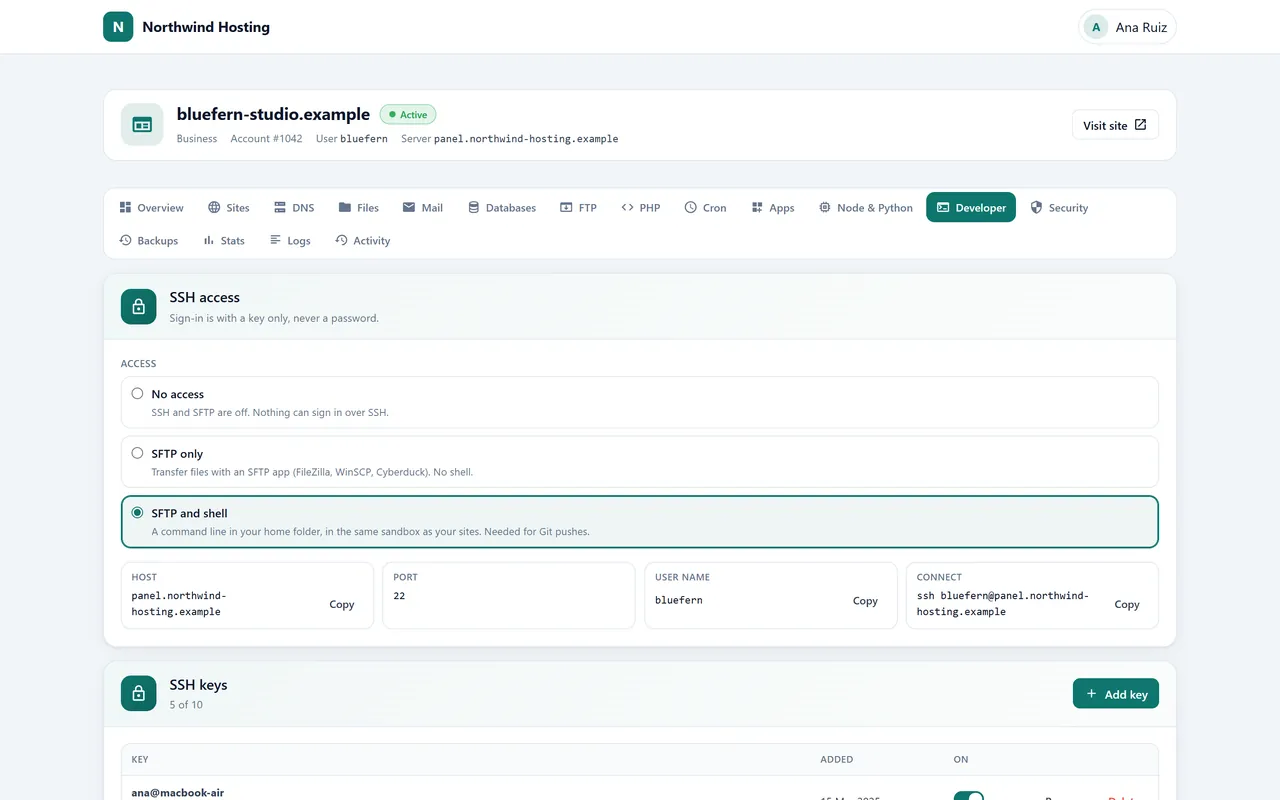
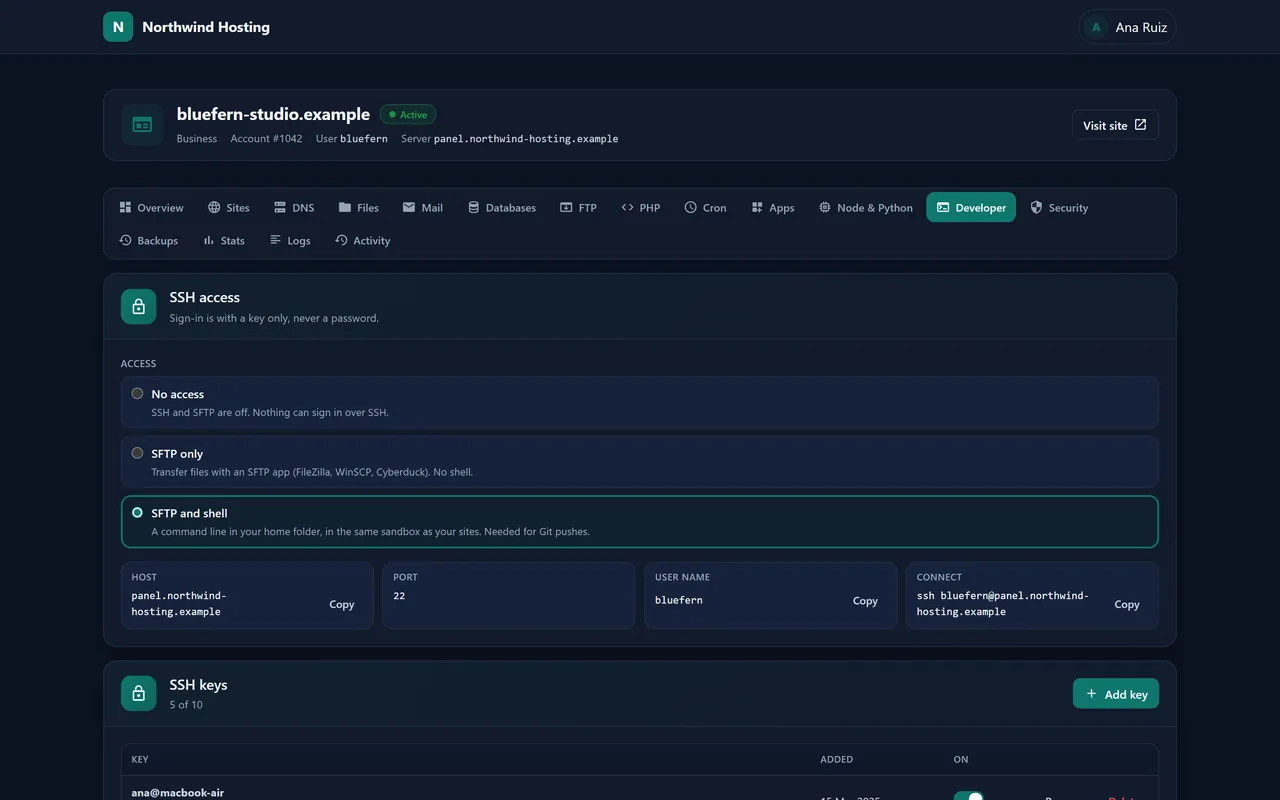
On Developer, customers choose No access, SFTP only or SFTP and shell, and add their SSH keys (keys only, never passwords). Create repository makes a Git repository that puts a branch live on their website each time they push it. Create token gives their own scripts a key limited to what it may do and where from.
The Security tab shows every certificate, lets a customer install one they bought elsewhere (Install a certificate), and password-protects folders (Protect a folder).
Chapter 16Backups
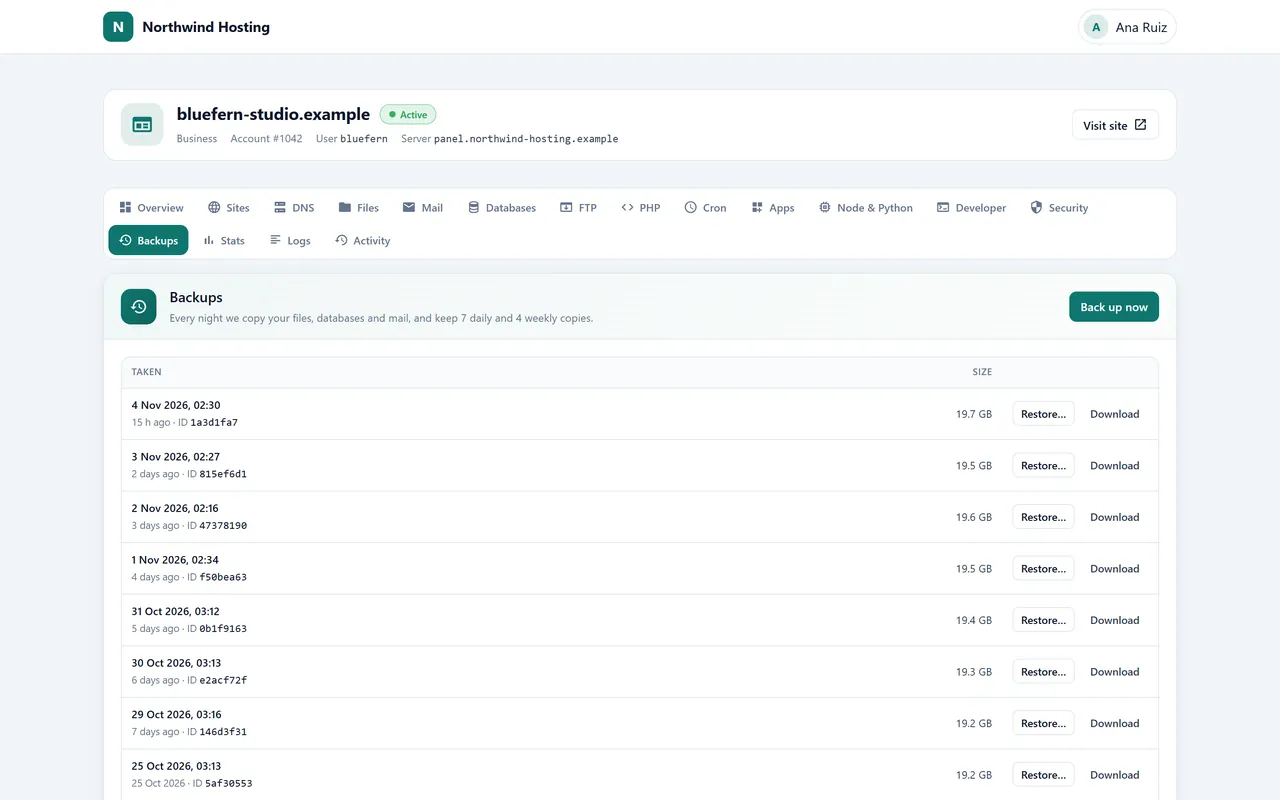
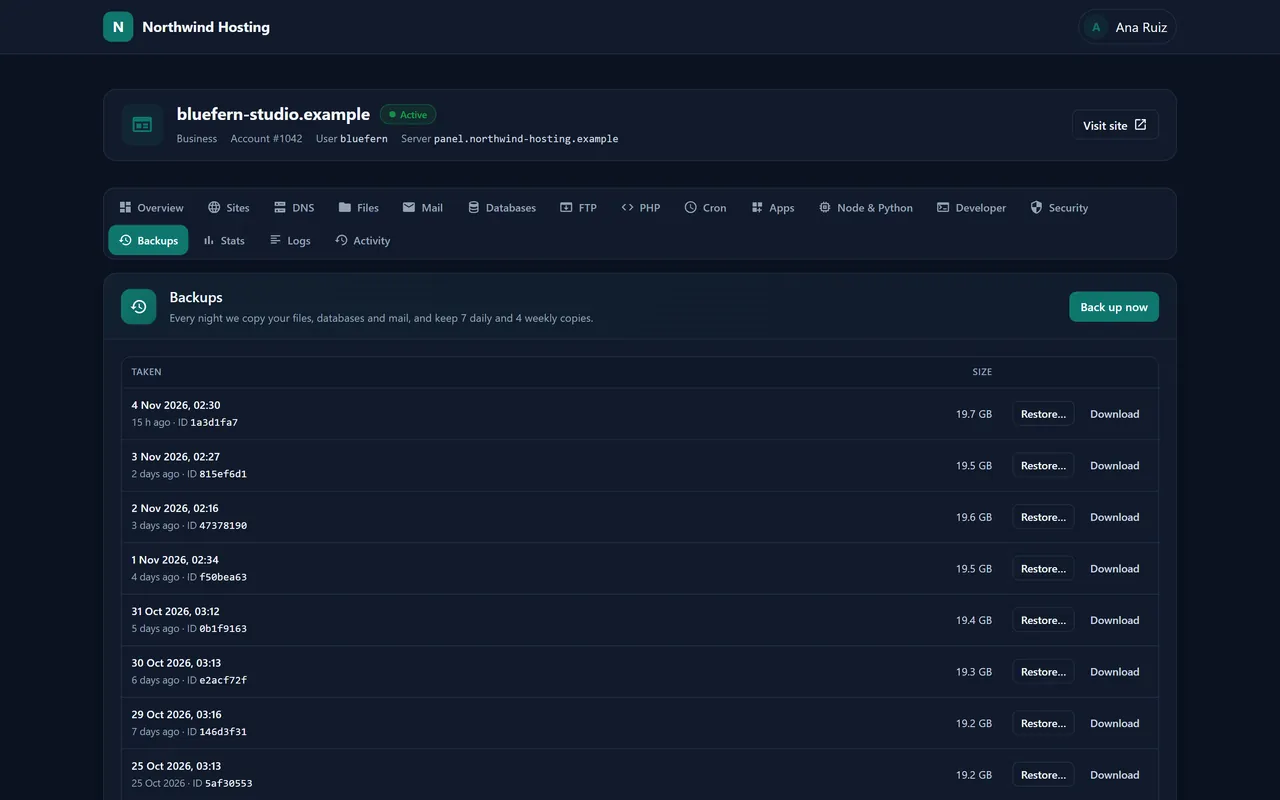
Every account is backed up every night, encrypted, and the plan decides how many daily and weekly copies are kept. On Backups a customer can:
- Back up now before a big change (once a day, on top of the nightly copy).
- Restore… their files, one database or one mailbox from any copy.
- Download a whole copy as a
.tar.gzfile, databases included.
These copies are on the same server. They are perfect for an accidental delete or a broken update. For protection against losing the machine itself, keep another copy somewhere else too.
Chapter 17Visitors, uptime and usage
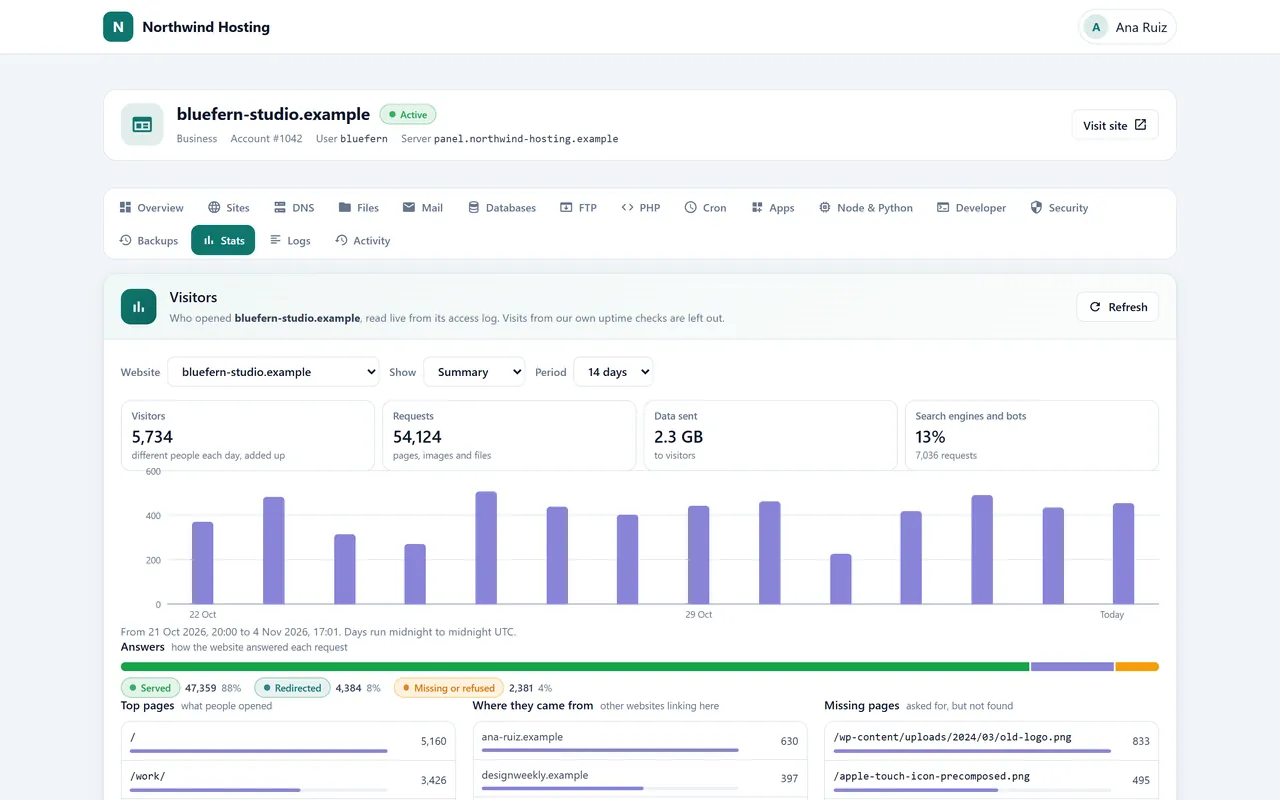
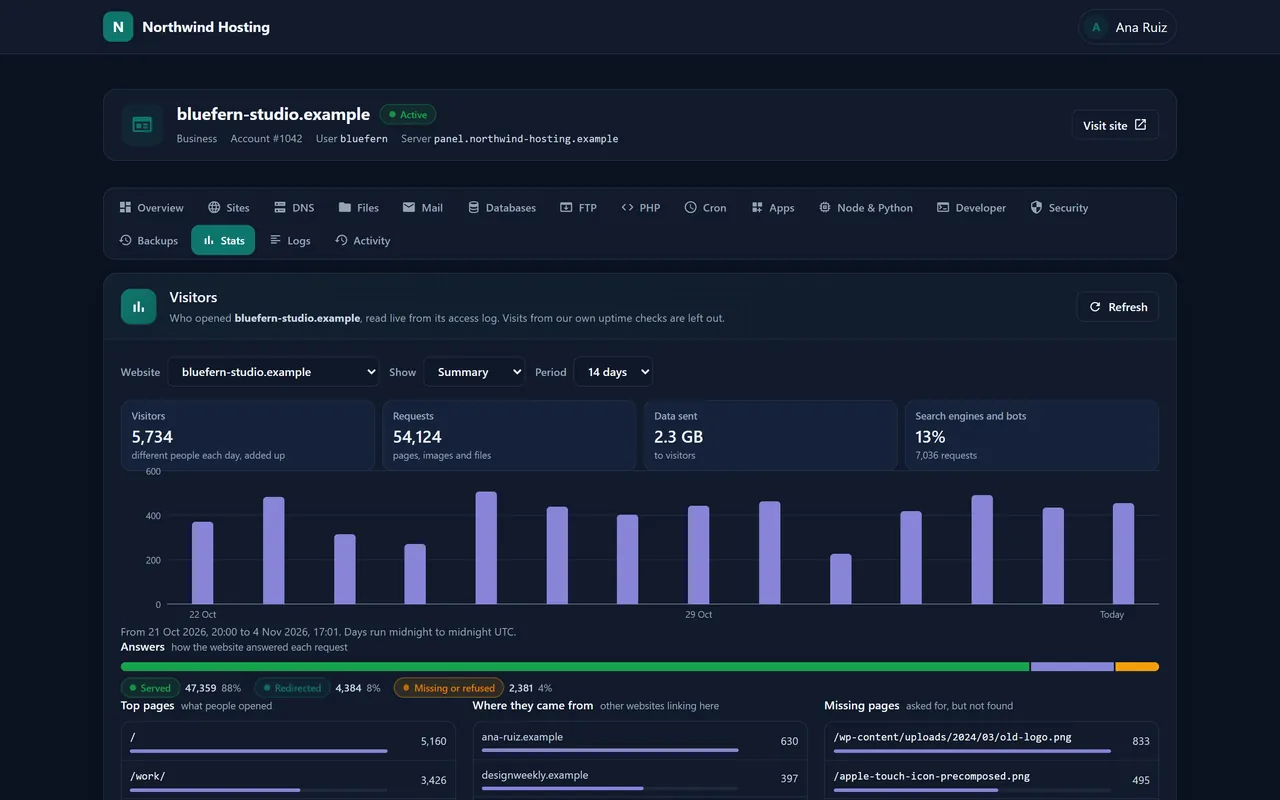
Stats shows who visited each website today or over the last 2, 7 or 14 days: the most read pages, where visitors came from, pages that were not found, search engines and bots, and visitors’ countries. Uptime on the same tab checks every website from outside every five minutes and lists a month of outages, response times and when each certificate expires.
Logs shows the latest error, access and PHP messages for a site, which is usually where a broken page explains itself. The account’s traffic, CPU and memory history is on its Overview.
Chapter 18Customers coming from cPanel
You do not have to move them yourself. Our team brings cPanel accounts onto your Nexo server: websites and files, mailboxes with their mail, databases and their users, DNS zones and cron jobs. Mailbox passwords come across too, so phones keep working after the move.
- Create the plans the accounts should land on.
- Send us, in chat, cPanel full backups of the accounts or access to the old WHM server, and say which plan each account goes on.
- We move them and tell you when each one is ready. Then change each domain’s nameservers or records to the new server when it suits you.
Chapter 19Recipes
Short answers to the jobs that come up every week.
Give a new customer a WordPress site
- Create the account (chapter 5).
- Click Open the panel as the owner on its page.
- Apps › WordPress › Install, on the main domain.
- Once the domain points to your nameservers, the certificate arrives by itself.
A customer forgot their password
On their account’s page, Setup email › Send it again emails a new link to choose one. Or set one yourself under Users › New password.
Let a designer upload files, and nothing else
In the customer’s panel, FTP › Add FTP account, limited to the website’s folder. The designer connects with FTPS on port 21, using the login name followed by @ and the main domain.
The domain’s DNS has to stay at another provider
Add the domain with Keep DNS where it is. Open Records to create at your DNS provider on its row and create exactly those records there. The certificate follows once they are live.
Put up a “coming soon” page
Sites › Starter page on the domain, pick Coming soon and press Publish page.
Try WordPress changes without breaking the live site
- Apps › Manage › Create a staging copy.
- Make your changes on the copy.
- Push to live site. The live database is saved first.
Pause a customer who has not paid
On their account’s page, Put on hold with a reason. With WHMCS connected, an overdue invoice does this for you, and payment lifts it.
Stop a reseller and all their customers
Resellers › Suspend on their row. Every account under them is paused at the same time.
A WordPress site is slow
- Make sure Turbo is on (your Overview).
- In the customer’s panel, Apps › Manage › Install the cache plugin.
- Check Sites › Controls › Speed the next day: the share of visits served from the cache should be high.
Move Nexo to a bigger server
Talk to us in chat. We release the licence, and you install Nexo on the new machine with the same key.
Chapter 20Questions
Will my customers see Primcast anywhere?
Only a small “Powered by Nexo” at the foot of the panel. Everything else carries your name, logo and colour, or your reseller’s.
When does Nexo update itself?
Between 1 and 4 in the morning, New York time, when a new version is out, or straight away if you press Check for updates on the Overview. Every update is signed by us and checked before it is installed.
What happens at night?
Backups run between 02:00 and 06:00 UTC, certificates renew when they are due, and updates install in the window above. You only hear about it if something fails.
My browser warns me when I open the panel.
The server has no name yet, so the panel uses a temporary certificate. Give it a name under Settings › Server name and the warning goes away.
A new website still has no HTTPS.
Its domain does not point to the server yet. Check in DNS › DNS tools; once it does, the certificate is issued within minutes.
Welcome emails end up in spam.
Add the two records shown under DNS for your sending address on the Emails page (chapter 8).
I lost the administrator password.
Log in to the server as root and run nexo admin admin. It prints a new password.
Does Nexo send invoices to my customers?
No. Use WHMCS or your own billing and connect it with an API key (chapter 9).
Does it run on Windows?
Not today. Nexo runs on the Linux systems listed in chapter 1.
Chapter 21Getting help
Our chat answers in seconds, with an assistant that can check your account and your server, and a real person joins whenever you ask. Your customers should contact you, their hosting company; this manual is here for you to answer them.